Install a Windows 10 development machine with docker, WSL 2 and asdf
Table Of Contents
Recently I had to switch from MacOS to Windows 10 for a client’s project and setting up my machine resulted in being a complete challenge. Not because windows is not a good development environment, believe me me, it really is good. It was because I had my dotfiles so tuned up for Mac that when I tried to use them in Linux inside Windows WSL, they didn’t worked.
So I took this as an opportunity to fix some inconsistencies in my files, created a new development workflow, and to make this blog post about the steps that I took to make it work.
Enable WSL2
The first thing to do while setting up an Windows Development machine, is install Linux inside of it using WSL2.
In case you don’t know, WSL means Windows Subsystem Linux and by the number you can guess that the latest version is version 2.
To install it, I followed the official documentation. Which in I’ll summarize in the following steps:
Install the required Windows features
This are:
- The Virtual Machine Platform
- The subsystem
I used Power Shell as an administrator to execute the following commands:
dism.exe /online /enable-feature /featurename:Microsoft-Windows-Subsystem-Linux /all /norestart
dism.exe /online /enable-feature /featurename:VirtualMachinePlatform /all /norestart
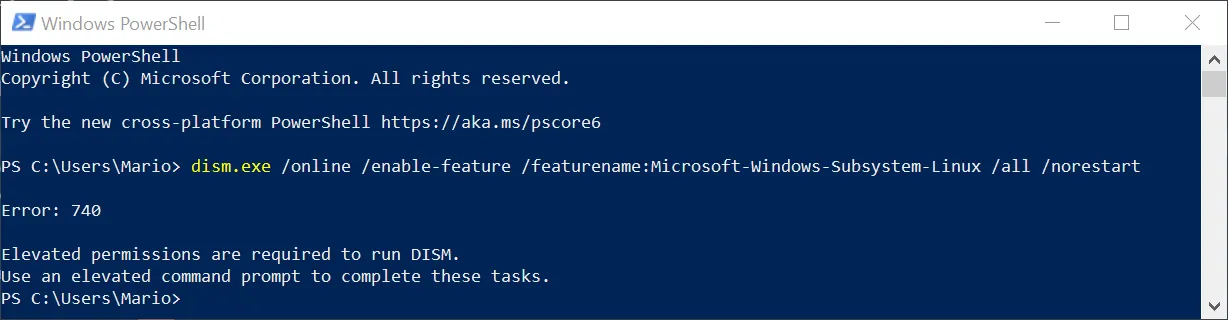
Take into account that you have to execute Power Shell as an administrator to execute both commands:
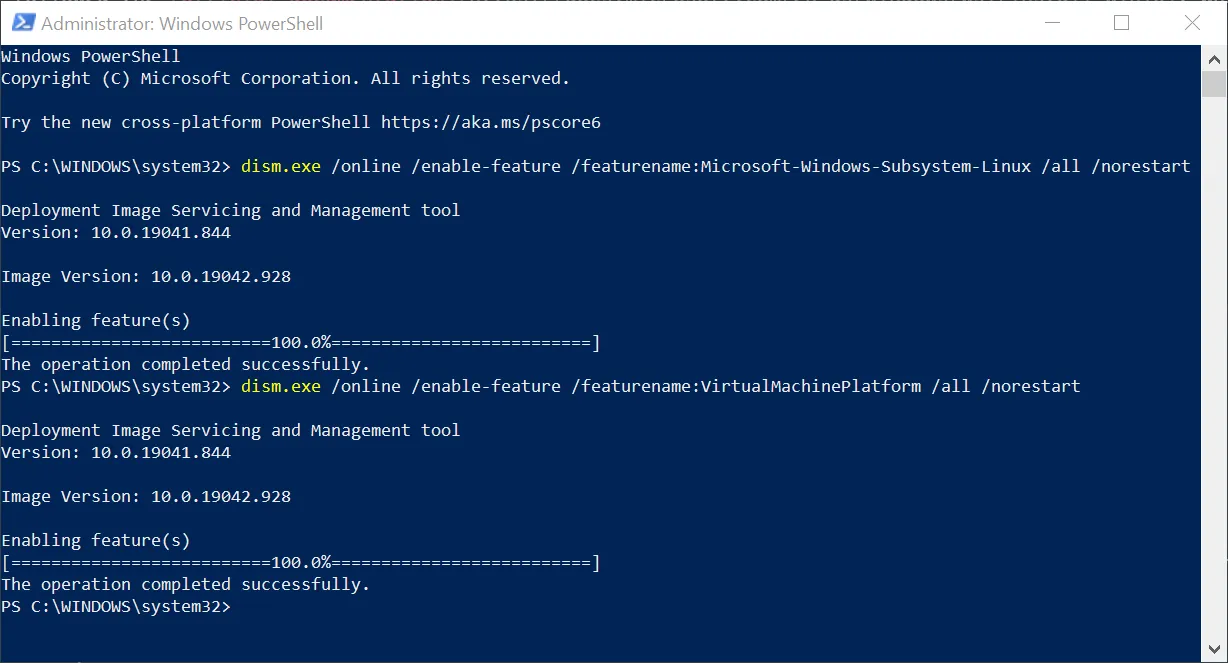
Very important: Restart.
Set a default version of WSL
This tells windows which subsystem you are going to use when you start a virtual machine. In our case we have to select 2 since its the only one we have installed:
wsl --set-default-version 2
wsl --list --verbose
Update the kernel
The WSL comes with a default Linux Kernel that is outdated. Fortunately you can update it by installing this file
Very important: Restart again.
… And that’s it, you have a very performant (almost native performance) Linux along side your Windows.
Install Winget
If you read some of my previous blog posts, you might notice that I love using Hombrew to install software in Mac.
Well, windows has an official package manager that works similar and is called Winget.
As of April 2021 the best way to install it is using the releases page on the official GitHub repository.
It is possible that you have to install the flight or preview version of Windows App Installer to make it work.
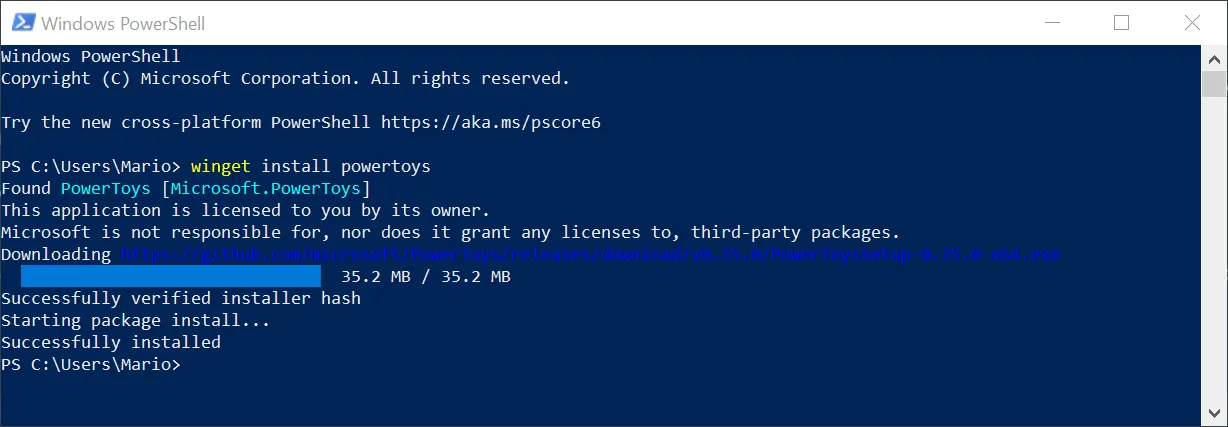
If you installed winget then you can do something like this:
Install Ubuntu
Installing WSL2 and upgrading it’s kernel just gives you that: An optimized Linux kernel inside a virtual machine, but without any Linux tools. You you don’t have any commands like ls, pwd, cd, etc. You also don’t have any kind of service or startup scripts.
That’s why you need to install an OS, so you can actually run Linux programs inside it. And to do it you just need to issue
winget install ubuntu
That’s why we installed
wingetat the beginning, so we could install apps fairly easy and fast.
Then, Start the Ubuntu-20.04 application from the Windows Start Menu. This will prompt us to create our first user.
Windows Terminal
The next step is to install a terminal so you can issue commands in your recently installed Linux OS.
I’m not an expert so I just took the advice of several blogs an YouTube videos and installed the Windows Official Terminal.
winget install "Windows Terminal"
This are the reasons for using this one instead of other alternatives:
- Is built by Microsoft so there is good suppport for it.
- Is pretty fast to startup
- It provides a drop-down menu to switch to from Linux, to Windows CMD or Power Shell
- Low input latency
- You can theme it
To make it look better, I used the following theme:
    "...": "...",
    "schemes": [
        {
          "name": "OceanicMaterial",
          "black": "#000000",
          "red": "#ee2b2a",
          "green": "#40a33f",
          "yellow": "#ffea2e",
          "blue": "#1e80f0",
          "purple": "#8800a0",
          "cyan": "#16afca",
          "white": "#a4a4a4",
          "brightBlack": "#777777",
          "brightRed": "#dc5c60",
          "brightGreen": "#70be71",
          "brightYellow": "#fff163",
          "brightBlue": "#54a4f3",
          "brightPurple": "#aa4dbc",
          "brightCyan": "#42c7da",
          "brightWhite": "#ffffff",
          "background": "#1c262b",
          "foreground": "#c2c8d7",
          "selectionBackground": "#6dc2b8",
          "cursorColor": "#b3b8c3"
        }
    ],
    "...": "..."
Additionally, I install the Hasklug Nerd Font, which can be downloaded from the Nerdfonts website; And add the following profile to the settings:
{
  "...",
  "profiles": [
    "list": [
      "...",
      {
          "colorScheme": "OceanicMaterial",
          "fontFace": "Hasklug NF",
          "fontSize": 10,
          "guid": "{07b52e3e-de2c-5db4-bd2d-ba144ed6c273}",
          "hidden": false,
          "name": "Ubuntu-20.04",
          "source": "Windows.Terminal.Wsl"
      },
    ]
  ]
}
To get to your personal prfile json file, you have to keep the Alt key pressed when selecting the terminals drop down menu.
Alacritty Terminal
If you are a little more advanced and use tmux as a multiplexer, then you might want to stick to Alacritty. Which is even faster than Windows Terminal but lacks some options like tabs and graphical configuration.
In this case, you have to
- Install Alacritty
- Make a configuration directory
- Create a configuration file on that directory
winget install Alacritty.Alacritty
cd %APPDATA%
mkdir Alacritty
The last 2 steps will create the folder where Alacritty expects it’s configuration.
After you’ve executed those commands, you can place a configuration file alacritty.yml in that directory with at least the following content:
shell:
  program: "C:\\Windows\\System32\\wsl.exe"
This will tell Alacritty to use wsl as the interpreter instead of cmd. So when you start Alacritty from the Windows Start Menu you’ll be taken directly to your Ubuntu Linux.
Install Linux Apps
The next step is to install some useful apps inside your linux to make it better to work with. In my case, this are:
- PHP’s
composer - NodeJS LTS
- rTorrent
- ZSH
So we have to add a couple of Debian Package Repos and install packages obviously:
sudo add-apt-repository ppa:ondrej/php
curl -fsSL https://deb.nodesource.com/setup_16.x | sudo -E bash -
sudo apt-get install -y nodejs unzip rtorrent php-cli zsh
curl -sS https://getcomposer.org/installer | php
sudo mv composer.phar /usr/local/bin/composer
This will make available php, node, npm and composer available in our Linux.
Restore secrets files
This step really depends on your setup. But in my case I have a secured .zip file with my ssh private keys and some additional secret files like .rclone.conf, .netrc file and .aws.
If you also do have this files this is the perfect moment to restore them:
unzip /mnt/c/Users/Mario/Downloads/backup-secret-dotfiles.zip
Restores dotfiles
Finally, if you have some kind of dotfiles, this is the final step you should take.
git clone [email protected]:marioy47/dotfiles.git
As you can see, I like to keep this directory in my home folder.
And that’s it, you should have now a very workable setup.
Oh My Zsh and ASDF
I’m spoiled, I admit it… On Mac brew takes care of installing node, php, elixir, etc. So I wanted something similar for Linux inside windows. That’s when I found ASDF.
We can use asdf to install runtime versions of many tools with just a couple of commands. This means, that we can install local copies of those tools and even manage multiple versions of the same tool on our virtual machine.
But (again but) instead of installing the asdf tool directly, we are going to use it as a Oh My ASH plugin!
If you don’t know what this tools do. I strongly suggest you visit their homepages to find out and by amazed by their utility.
Oh My ZSH
To install Oh My ZSH, issue this command inside your Linux virtual machine:
sudo apt-get install zsh unzip -y
sh -c "$(curl -fsSL https://raw.github.com/ohmyzsh/ohmyzsh/master/tools/install.sh)"
This will ask you if you want to change your shell to zsh wich you should say “yes”
Then edit ~/.zshrc and look for the plugins variable and make the following changes
ZSH_THEME="bira" # Select your own here
### ...
plugins=(git asdf) # Very important the asdf tool
unsetopt BEEP
The unsetopt BEEP is to disable the annoying beep windows issues whenever you make a mistake like pressing the Esc key twice.
ASDF
To finish the installation, you have to:
- Source the newly modified
.zshrcfile - Download the latest version of
asdfin a hidden directory called.asdf/
source ~/.zshrc
git clone https://github.com/asdf-vm/asdf.git ~/.asdf --branch v0.8.0
And now you should have the asdf command at your disposal
ASDF Plugins
If you preffer to install node and yarn globally or want the nightly version of NeoVim, you can use asdf to install those packages locally and update them more frequently.
The process is the following:
- Install the
nodejsplugin so we can download and install the latest version - List the available versions of nodejs that
asdfcan install for us - Select and install a version for nodejs
- Stablish that the installed node version (global) will be available when we execute
nodein the command
asdf plugin add nodejs
asdf list all nodejs
asdf install nodejs lts
asdf list nodejs
asdf global nodejs lts
While we’re at it, let’s do the same for yarn:
asdf plugin add yarn
asdf install yarn latest
asdf list yarn
asdf global yarn 1.22.10
And Neovim
asdf plugin add neovim
asdf install neovim nightly
asdf global neovim nightly
If you issue the current option of asdf you should get the actual versions you have active in your system:
adsf current
Docker
Installing docker is equally easy as the Windows Terminal when we use winget from Powershell.
winget install docker
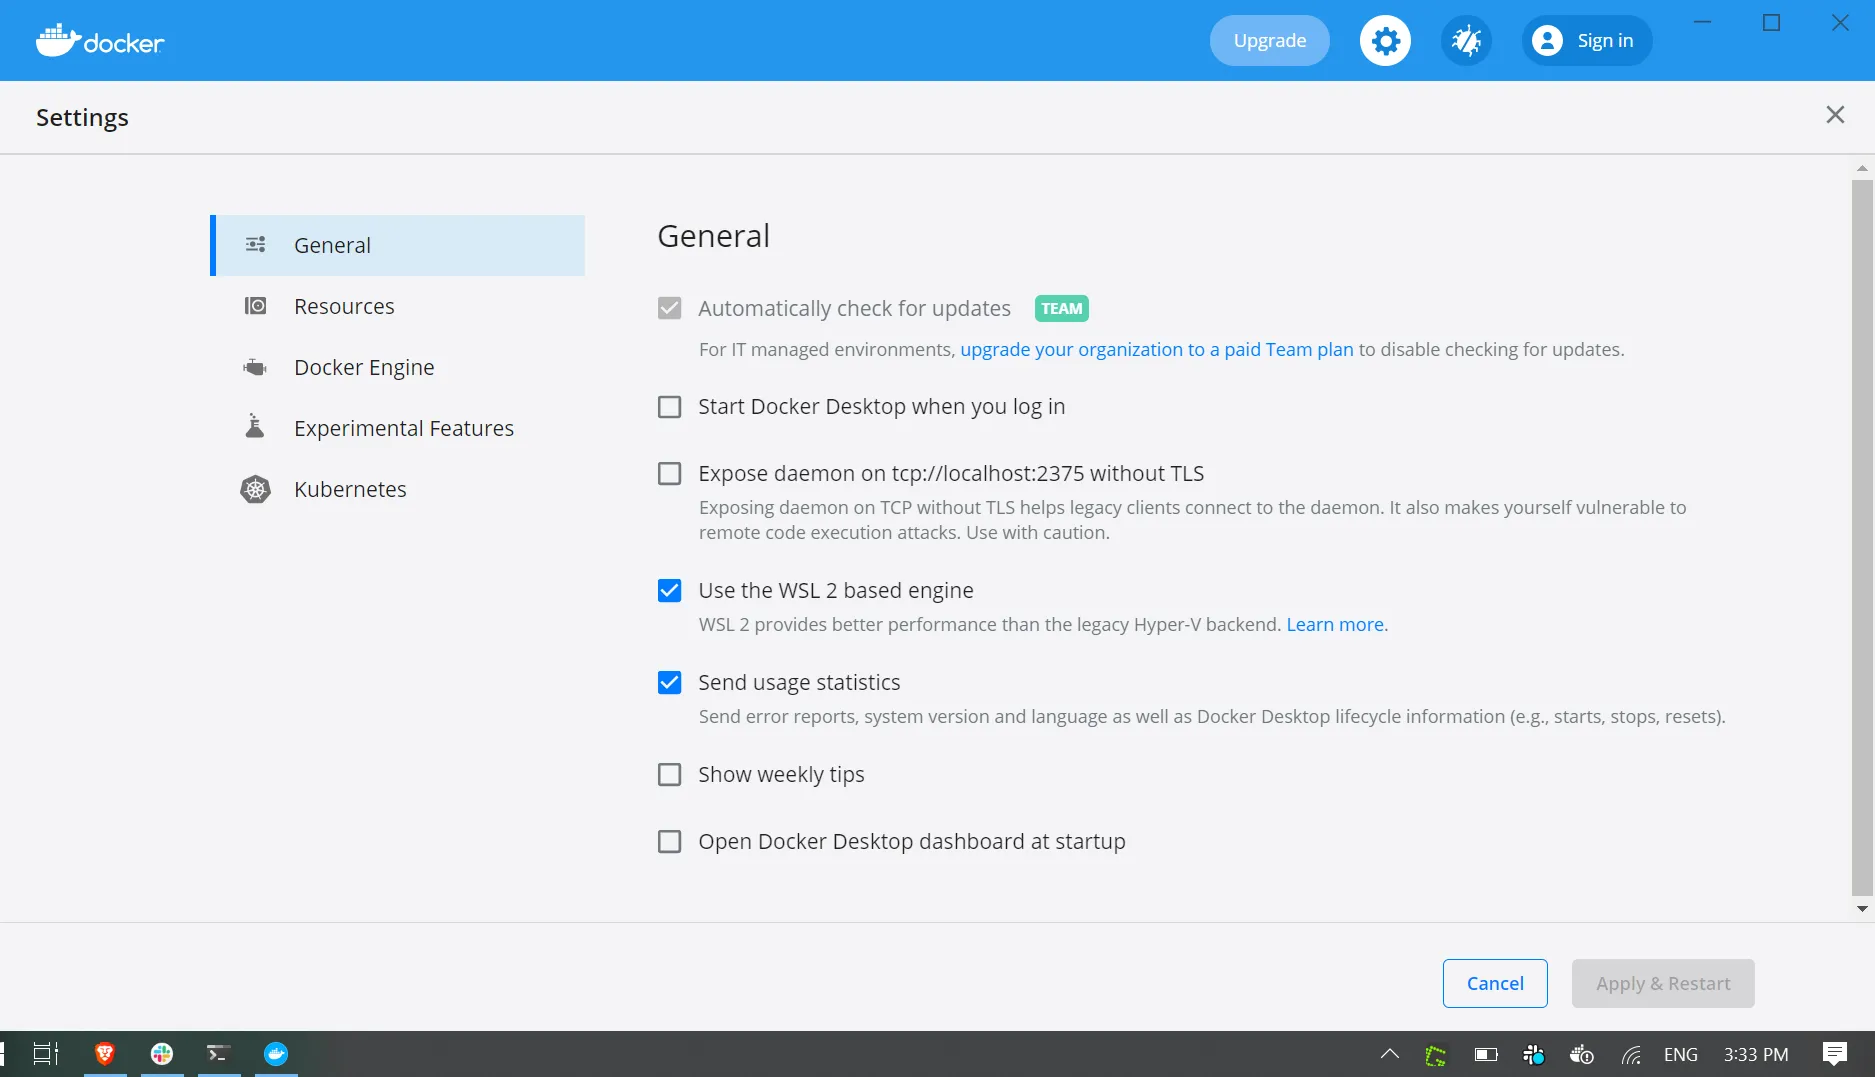
The catch is that, after the installation is done, we have to make sure that WSL2 is being used:
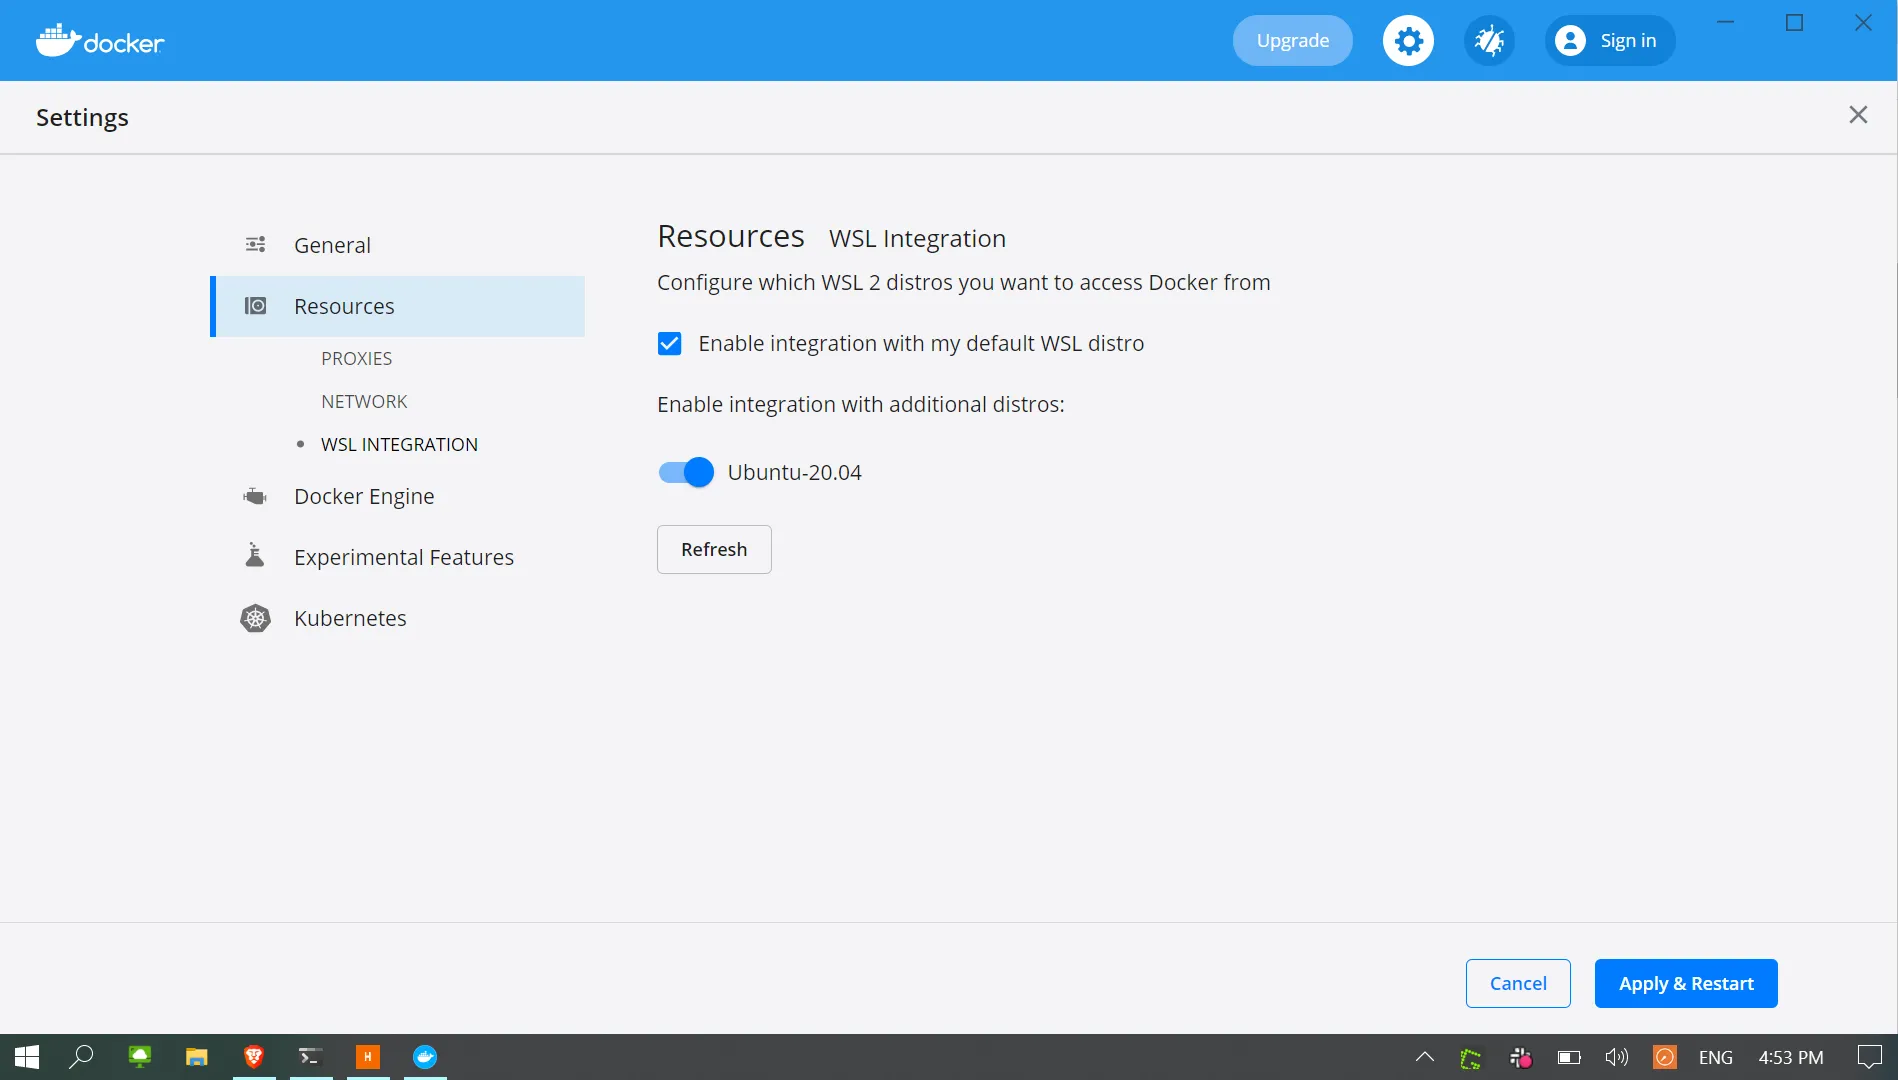
- Open Docker Desktop Windows as administrator
- Go to settings
- Make sure that the checkbox to use wsl2 engine is active
- Enable Resource WSL integration
- Enable the
Ubuntu-20distro
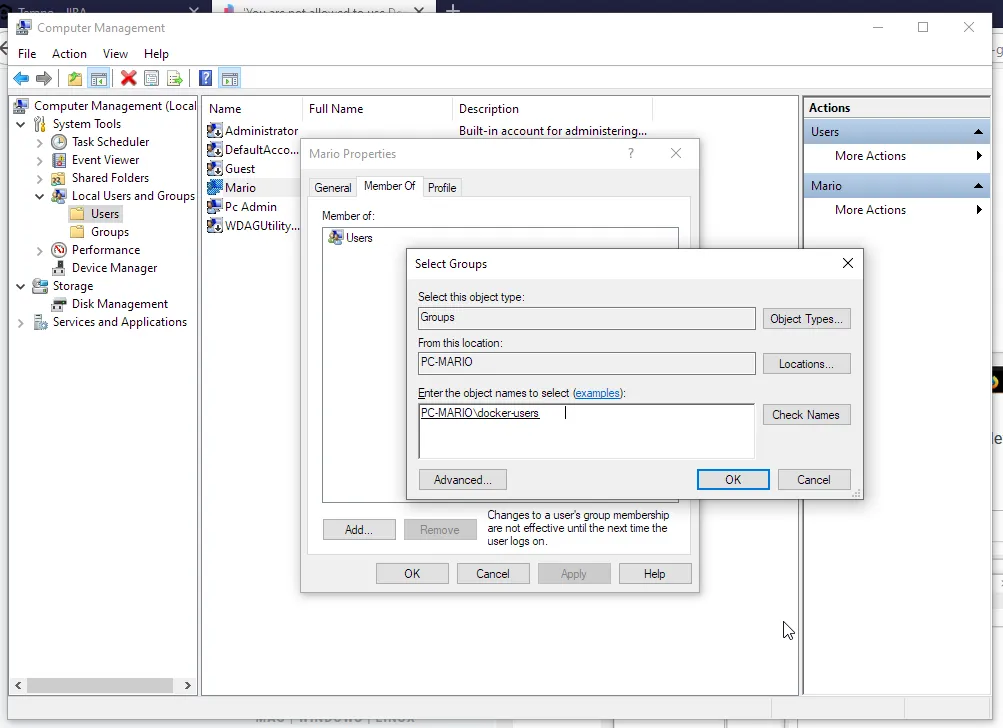
If you are installing Docker as a NON administrator user, you might be getting the error You are not allowed to use Docker, you must be in the "docker-users" group when you try to launch the Docker Desktop application.
The solution is pretty self explanatory, you have to add your current user (in my case “Mario”) to the aforementioned group, so just open the Computer Management control panel as and Administrator and:
- Go to Local users and groups
- Double click on
docker-users - Go to Users on the left
- Click on Add
- On the textarea add
docker-usersand Check Names - Save
- Log out and in again
And afterwards you should be able to launch Docker Desktop with no issue and without the need to do it as an administrator.