Mongo DB and Mongo Express using Docker
Table Of Contents
This is just a simple exercise on how to use Docker to locally run MongoDB and Mongo Express.
The main problem that we’re going to solve, is how to run both images and have them communicate to each other since by default Docker doesn’t allow that.
Additionally we’re going to do this procedure using the docker command, and then using docker-compose.
Prerequisites
The only prerequisite to follow allong is to have Docker installed.
If you are running a Mac with Homebrew you can install it with:
brew install docker --cask
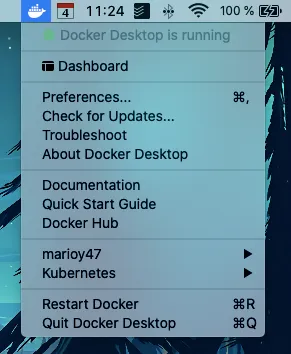
You should now have a docker menu in the Mac task bar:
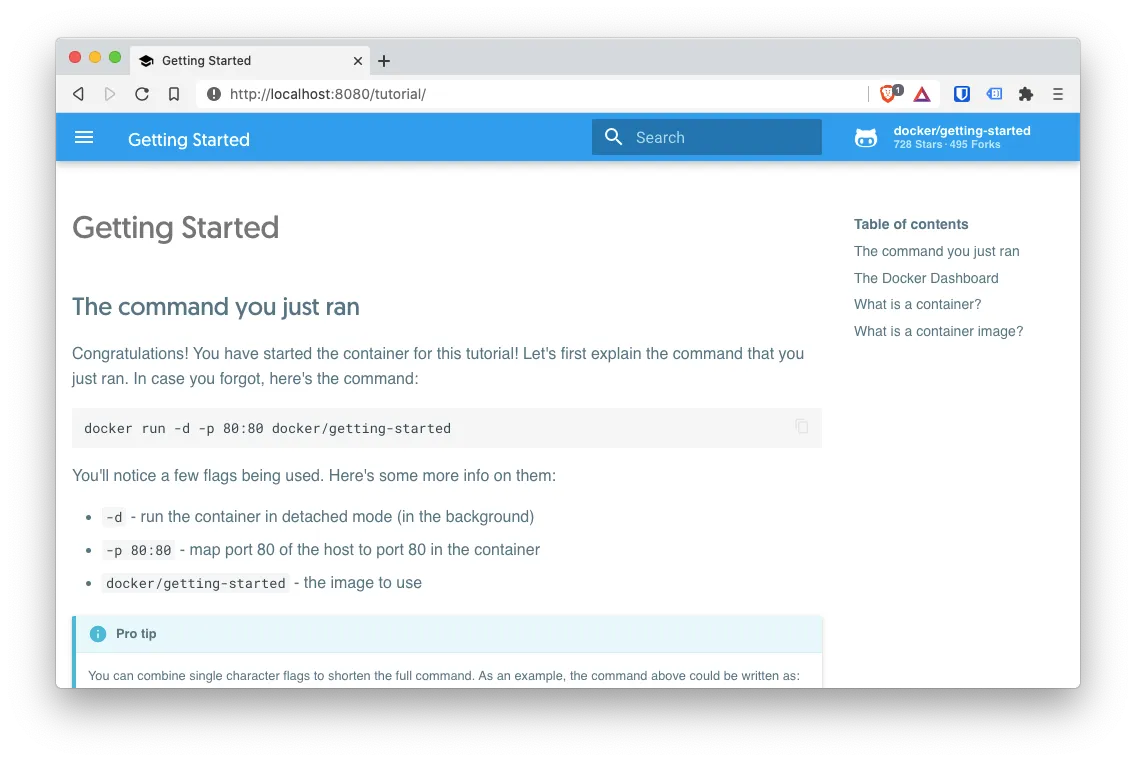
To be sure that the installation as successful , run the getting-started image:
docker run -p 80:8080 --name getting-started docker/getting-started
 # Stop with ^C
And visit the url http://localhost:8080 to get to the getting started application.
Docker Cheat Sheet
I’m not going to explain how Docker works. For that there are a lot of in depth tutorials. But I’m going to leave here a list of useful commands, some of them that we’re going to use. So you don’t have to go hunting into the documentation.
| Command | Description |
|---|---|
docker pull <image> | Downloads an image without starting it |
docker images | List of downloaded images |
docker image rm <id> | Remove the image with id <id>. It’s better to use the id instead of the name in case you have multiple version of the same service |
docker run <image> | Starts the image. This is creating a container |
docker run -d <image> | Starts the image in detached mode |
docker run -p 1234:9876 <image> | Runs an image binding the local port 1234 to the container port 9876 |
docker run --name <image> | Run the image with a custom image |
docker ps | List of running images |
docker ps -a | List of running and stopped images |
docker stop <id> | Stops the container with the id <id> |
docker start <id> | Re-starts an already created container (crated with docker run) |
docker log <id> | Output of the image with id <id> |
docker exec -it <id> <command> | Run the command <command> (pe. /bin/bash) in the running container interactively |
docker network ls | List the available networks |
docker network create <name> | Create a new network |
docker run --network <name> <image> | Runs the image <image> on the network <network> |
Download images
We do this to save up time since some images are very big:
Mongo DB
Use the official image
docker pull mongo
docker images
Mongo Express
Also use the official image
docker pull mongo-express
docker images
Intro to docker networks
While the images download lest explain a little how Docker networks work.
The most important thing to keep in mind, is that each container has its own network, and that you can’t access one network from another. That’s why, by default, 2 containers can’t communicate.
But we can create our own network!
As long as we deploy multiple containers in the same network they not only can communicate, but they can refer to each other just by the container name and not by IP.
Still, if you want to access a container from outside the network, say from your physical laptop, you have to communicate by their exposed ports.
So, what we have to do is:
- Create a network
- When creating a container from an image, specify the newly created container
Create the network
Docker provides by default some networks
docker network ls
We can use some of those networks to make our containers communicate with each other, but to make our environment more portable, is better to create a new one:
docker network create mongo-express-network
Being mongo-express-network the name we need to use. This means that when we startup our containers, we have to provide the mongo-express-network in the command line
Persisting the data
To persist data we need to create a Docker Volume by passing the -v flag followed by the parammeters of the shared volume.
But to understand that, we need to talk about the 3 types of volumes that Docker supports:
Host volumes
Here you decide on the host system where to copy de data from the container.
-v /local/path:/var/lib/mysql/data
The first path is the local path, and the second path is the container path with the information we want to persist.
Anonymous volumes
Here you let decide Docker where in the local host, copy the data from the container. Under wraps, Docker will copy the data inside the /var/lib/docker/volumes/<random>/_data without us needing to specify it.
-v /var/lib/mysql/data
Notice you don’t provide a host source path
Named volumes
This is the one you’ll probably use.
It’s kind of a combination of the previous 2, where you provide a name for the host’s path but Docker finally decides where in the local file system the information will be stored. You still need to provide the container’s absolute path.
-v mysql-data:/var/lib/mysql/data
The advantage of this method is that you can reference this volume from another connected container.
Running the containers on a network
Now that we have a network created, we can boot our containers connecting them by the just created network.
But before we do that, I have to point out that both images require that you pass environment variables using the -e flag when issuing the docker command
MongoDB
According to the documentation, you need to provide MONGO_INITDB_ROOT_USERNAME, MONGO_INITDB_ROOT_PASSWORD.
So let’s start the Mongo image using the name mongodb with:
docker run -d \
-p 27017:27017 \
-e MONGO_INITDB_ROOT_USERNAME=rootuser \
-e MONGO_INITDB_ROOT_PASSWORD=rootpass \
--name mongodb \
-v mongodb-data:/data/db \
--net mongo-express-network \
mongo
To verify that it’s running issue:
docker logs mongodb
MongoExpress
This has a lot of variables, but only ME_CONFIG_MONGODB_ADMINUSERNAME and ME_CONFIG_MONGODB_ADMINPASSWORD are required.
Also, the ME_CONFIG_MONGODB_SERVER is important, since that instructs Mongo Express to connect with which service. In our case it should be mongodb since that’s the name we used in the previous step.
docker run -d \
-p 8081:8081 \
-e ME_CONFIG_MONGODB_ADMINUSERNAME=rootuser \
-e ME_CONFIG_MONGODB_ADMINPASSWORD=rootpass \
-e ME_CONFIG_MONGODB_SERVER=mongodb \
--name mongo-express \
--net mongo-express-network \
mongo-express
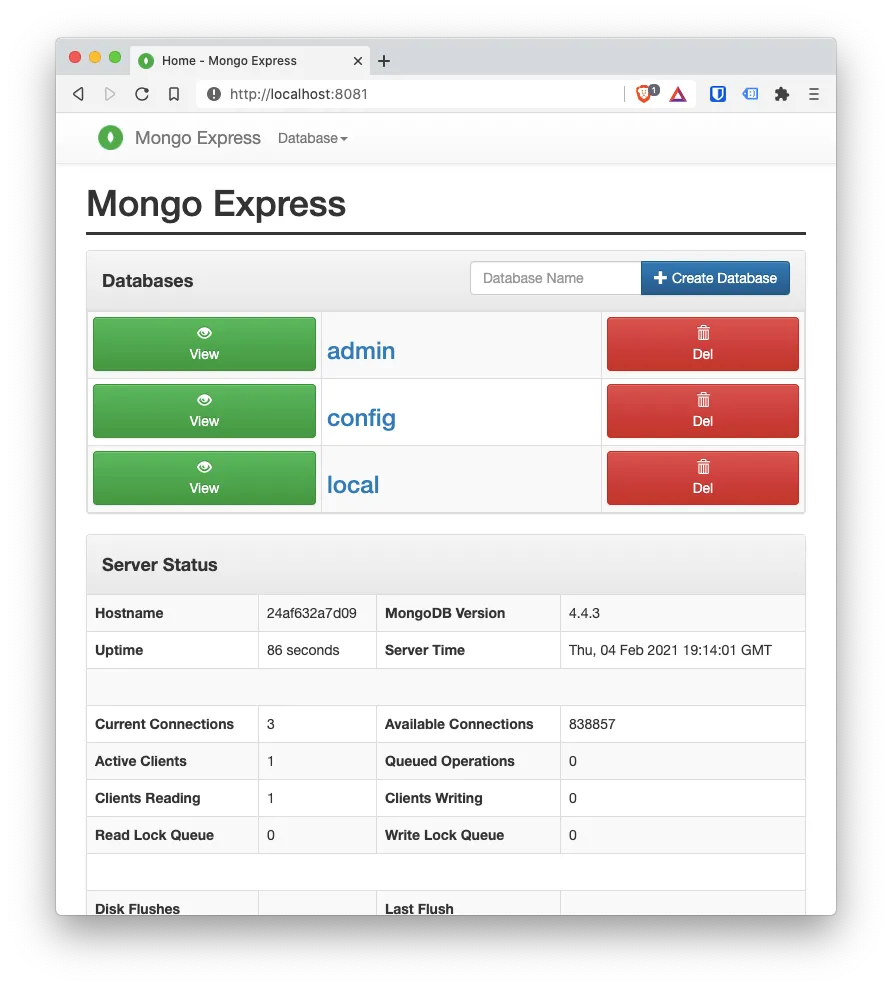
And if you go to http://localhost:8081 you should see something like this:
Removing the containers and the networks
Before you continue. You have to delete all the containers and networks with:
docker rm mongodb mongo-express
docker network rm mongo-express-network
Doing it with Docker Compose
What we just did works great, but wouldn’t it be nice if we could do that with just one command and without all those parammeters?
Well, it turns out that you can, by using the docker-compose command. Which is part of the Docker installation.
You just need to create a yaml file with the following sections:
version: "3"

services:
  # ...
network:
  # ...
volumes:
  # ...
Only version and services are required. But we’re going to use the 4 sections to have a complete network with the 2 services.
So, re-creating the 3 commands we executed a while ago with docker-compose file would be:
# mongo-express.yml
version: "3"

services:
  mongodb:
    image: mongo
    container_name: mongodb
    ports:
      - 27017:27017
    environment:
      - MONGO_INITDB_ROOT_USERNAME=rootuser
      - MONGO_INITDB_ROOT_PASSWORD=rootpass
    volumes:
      - mongodb-data

  mongo-express:
    image: mongo-express
    container_name: mongo-express
    ports:
      - 8081:8081
    environment:
      - ME_CONFIG_MONGODB_ADMINUSERNAME=rootuser
      - ME_CONFIG_MONGODB_ADMINPASSWORD=rootpass
      - ME_CONFIG_MONGODB_SERVER=mongodb

networks:
  default:
    name: mongo-express-network

volumes:
  mongodb-data:
    driver: local
One important thing to notice is that you pass environment values by separating the name from the value by = instead of :.
Now, let’s test this, issuing the command:
docker-compose -f mongo-express.yml up -d
-dtu run it in detached mode
You can now visit http://localhost:8081 and verify that Mongo Express is running.
To stop all the services, you issue:
docker-compose -f mongo-express.yaml down
Final thoughts
Hope you find this article helpful and is a big recommendation that you checkout a complete Docker tutorial.