Django tooling with Pipenv, Pre-Commit, GitHub actions and PostgreSQL
Table Of Contents
Lately I’ve become more and more interested in Python for it’s usage in Data Science applications, Machine Learning and the creation websites that has some kind of prediction options.
So I started looking at the different python web frameworks and it seems that Django is a safe bet if you are just starting to dip your toes in this world.
So I created this guide to show you how you can create a kick ass Django development environment with:
- Pipenv for package installation and management
- pre-commit to lint files before commiting to GitHub
- Automatic testing with GitHub Actions
- PostgreSQL instead of Sqlite for data storage
Is important to note that this is not a Django guide, nor a development tutorial. It’s more a python tooling guide.
Install Python and Pip
Obviously we need to start with Python. This is what is going to power up all of the tools and modules that we’re going to use here.
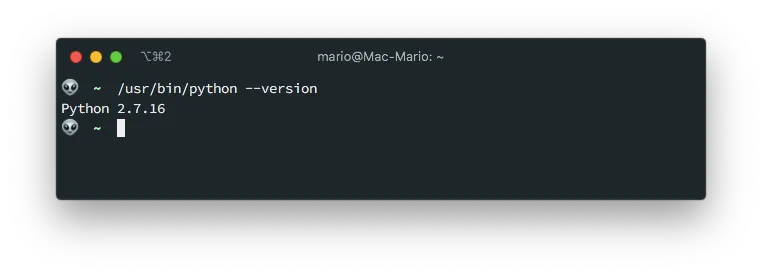
By default Mac comes with an outdated Python, at least it was like that at the time of this article writing
Upgrading python to the current version (3.9 at the time of this writing) is pretty easy if you are using (and you should) brew package manager.
Also, we are going to need the latest version of pip since we’re going to need to install external python packages.
brew install python3 pip3
This will install the new commands python3 and pip3. This also means that you’ll end up with 2 versions of python in your computer.
Its highly recommended that you do first a
brew updatebefore installing the new python to resolve some conflicts. In my case I had packages that required Python 3.7 and other Python 3.8.
Install Pipenv
This is somewhat different at what you find on most of the django tutorials: The usage of Pipenv instead of virtualenv or venv.
If you have a python background, the best way to explay pipenv is that is a combination of pip and venv.
For a node developer (like me), you can think of pipenv like the npm of Python.
And if you are a PHP developer, well, is the composer of Python.
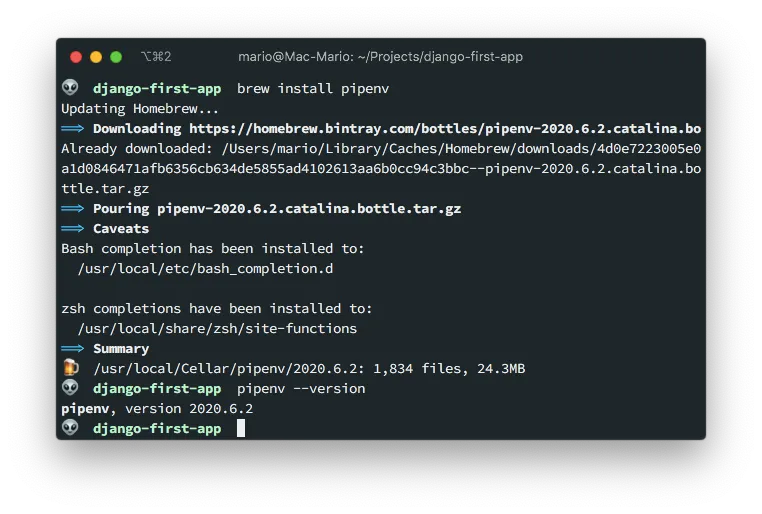
OK, installing pipenv is pretty easy too:
brew install pipenv
And this will get you the command pipenv like so:
If you are more of a fan of installing packages with pip you could do:
pip3 install pipenv
If you are in Linux or Windows with WSL, then:
sudo apt-get update
sudo apt-get install pip
pip install --user pipenv
export PATH=$PATH:~/.local/bin # Add this to your .bashrc or .zshrc files
pipenv --version # To make sure it got installed
Notice that the method installs pipenv in your home directory in ~/.local/bin sub-directory, and that’s why you have to export your PATH variable.
Additional information on how to install Pipenv can be found int the documentation site.
Install PostgreSQL
If you are developing a serious project, you have to use a really performing database. And, unless you are willing to pay serious dough, there is nothing better that PostgreSQL.
In MacOS, make sure you Xcode is up to date. This is necesary fo rthe
psycopg2installation:
Install PostgreSQL with homebrew is pretty easy, you just need 3 commands:
brew install postgresql
brew services start postgresql
I already created an in-depth tutorial on how to install PostgreSQL in mac if you are interested on knowing more.
Verify that you have all pre-requisites
Let just make sure that we have everything we need:
$ python3 --version
Python 3.9.1

$ pip3 --version
pip 20.3.3 from /usr/local/lib/python3.9/site-packages/pip (python 3.9)

$ pipenv --version
pipenv, version 2020.6.2

$ psql --version
psql (PostgreSQL) 13.1
The important part is that pip3 and python3 refer to the same version.
Create virtual environment
Now that we have Python, Pip and Pipenv installed, we need to create a folder for a project, and then a virtual environment in that folder.
So execute the following:
mkdir django-first-app
cd $_
PIPENV_IGNORE_VIRTUALENVS=1 pipenv --python 3.9 shell
This will:
- Create a folder for our project
- Change directory into that folder
- Create the virtual environment
The command pipenv shell should be enough to create the virtual environment, but I used differently in the example:
- I passed the
--python 3.9parameter. - I passed the
PIPENV_IGNORE_VIRTUALENVSvariable
In my case I had issues because I had python 3.8 and 3.9 installed. So I had to pass the --version 3.9 flag to the pipenv shell command.
Additionally, it seems that pipenv has a bug when installed in Mac where it detects a virtual environment even if there is none yet. That’s why I passed PIPENV_IGNORE_VIRTUALENVS=1.
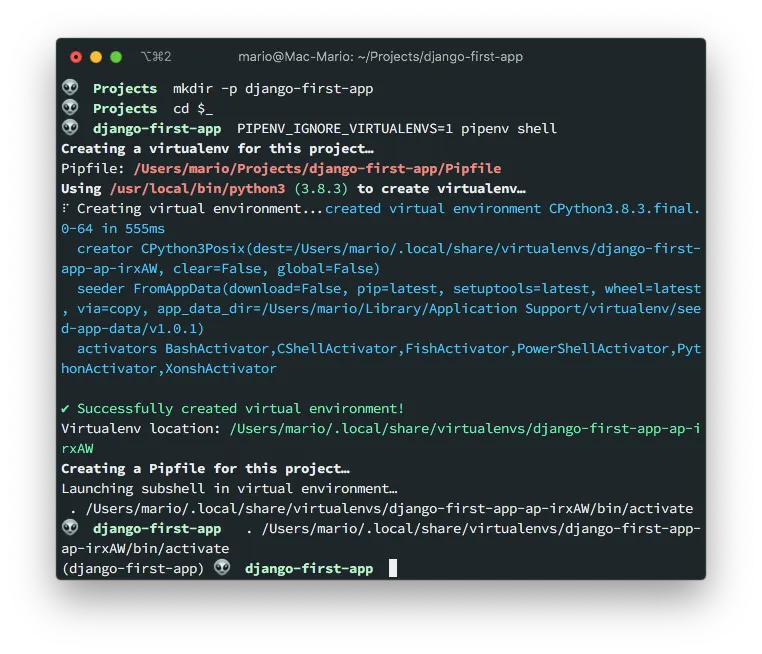
Also, notice how the terminal’s prompt changed prefixing it with (django-first-app) and how we have a file called Pipfile with the following contents:
[[source]]
url = "https://pypi.org/simple"
verify_ssl = true
name = "pypi"

[packages]

[dev-packages]

[requires]
python_version = "3.9"
Now, this is very important: If you exit your terminal, or open a new terminal to work on your project, you need to execute pipenv shell before you execute any other python (or django) command
Where is the real virtual environment?
If you already know Python, you might be wandering where is the virtual environment placed? … There is no venv/ folder or anything like it!
Well, its is your home dir:
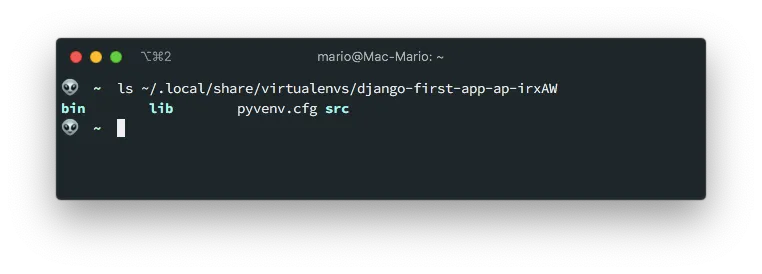
That’s one of the advantages of pipenv. It doesn’t clutter your workdir with files.
Create the Django project
We’re ready to start up:
- We have a recent version of python ✓
- We have
pipenvin our computer ✓ - We have a virtual environment for our project ✓
… We are ready to install Django!
The first thing is to install the Django Framework in our virtual environment and then create the actual project
pipenv install django
django-admin startproject config .
python manage.py runserver 8000
This will:
- Install Django in our virtual environment
- Create the new project
- Run the test server in port
8000(which is the default port)
Notice the . at the end. This prevent the creation of a new sub-directory.
I like to name my projects
configsince there is where most of the configuration files will be. A lot of people use the sufix_project, likecrm_projectortest_project, instead.
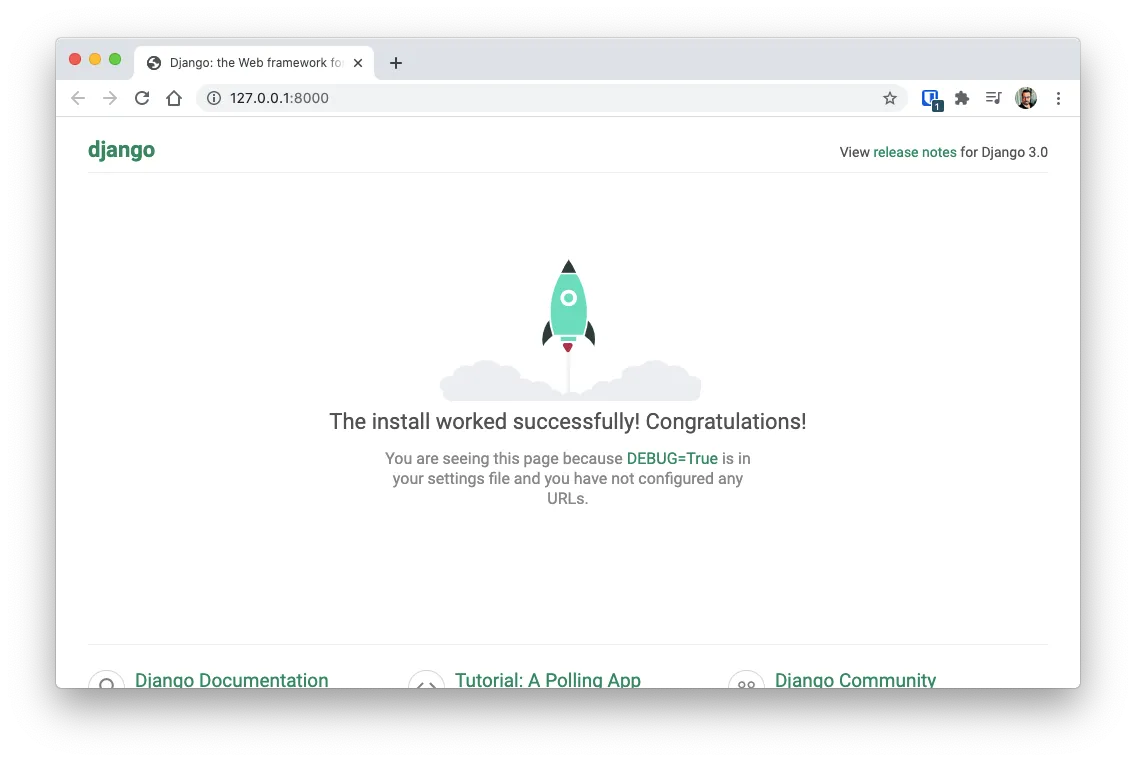
If you visit http://localhost:8000 you’ll get the start Django start screen.
Fix the settings.py file
Before we go any further, lets do some cleanup in the config/settings.py file by removing some sensitive data and making Django read the environment for things like keys:
Remember
config, is the name I chose for my project
- Remove the
SECRET_KEYvalue from the settings file, and make it be read from the environment. This prevents tools like GitGardian to complaint about security issues and makes our project more portable - Change the
DEBUGvariable to be taken from the environment also - Add
localhostand127.0.0.1to the list of allowed hostsALLOWED_HOSTS - Configure the default timezone
All of this is achieved by making the following changes in the config/settings.py file:
# config/settings.py
import os # Add this. You'll need this to read data from the environment
# ...
SECRET_KEY = os.environ.get('SECRET_KEY', '') # Import SECRET_KEY from the environment
# ...
DEBUG = os.environ.get('DEBUG', 'True').lower() == 'true' # Enable Debug
# ...
ALLOWED_HOSTS = ['127.0.0.1', 'localhost'] # Add the this 2 entries
# ...
LANGUAGE_CODE = 'es-co' # If you want to change the default languege
# ...
TIME_ZONE = 'America/Bogota' # Change this to your local zone
Now, our first trick!
It turns out that pipenv reads a file called .env, if exists, when you execute pipenv shell. And the values that are on .env are published as environment variables!
No you know why we changed those values in settings. Right?
So, lets make this .env file with the following content:
# .env
SECRET_KEY = '**************************************************'
DEBUG=True # Not required but good to have it here
Obviously change the ’*.’ for the actual key
Now, stop the development server, exit the virtual environment and re-enter it so the .env file gets read.
^D # Ctrl-C to stop the django server
exit
pipenv shell
python manage.py runserver 8080
I changed the port just for fun ;)
Visit http://localhost:8080 and verify that you still get a placeholder page.
Using pre commit hooks
I love making my development environments take care of all the details a project requires. Tasks like linting and formatting should be done for me before I commit to GitHub. That’s why I use pre-commit in Python projects.
For JavaScript I use husky
But to have pre-commit work. I first need to initialize a repository.
git init
git branch -m main
echo .env >> .gitignore
echo db.sqlite3 >> .gitignore
git add .
git commit -m "First commit"
Notice that I’m using
maininstead ofmasterjust like GitHub likes it.
Now, lets install pre-commit package:
pipenv install --dev pre-commit
pre-commit --version
And configure it by creating the .pre-commit-config.yaml configuration file with the contents displayed in the official website.
repos:
  - repo: https://github.com/pre-commit/pre-commit-hooks
    rev: v2.3.0
    hooks:
      - id: check-yaml
      - id: end-of-file-fixer
      - id: trailing-whitespace
      - id: check-executables-have-shebangs
      - id: debug-statements
      - id: check-merge-conflict
  - repo: https://github.com/psf/black
    rev: 19.3b0
    hooks:
      - id: black
Finally install the hooks in your git repository.
pre-commit install
pre-commit autoupdate
The
pre-commit installwill generate the file.git/hooks/pre-commit
On the next time you execute git commit -m '...' some files will get downloaded. But this only happens the first time.
Now… A little test! … Add 3 or four extra spaces in config/settings.py and try to commit those changes.
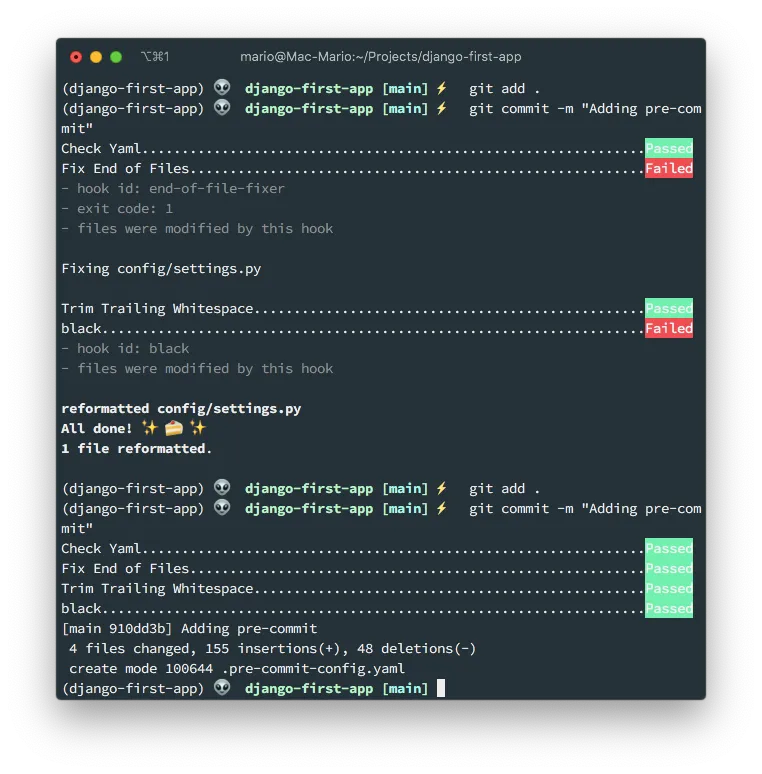
Isn’t that awesome?
Our first commit failed, but at the same time if fixed the offending files. That’s why re-adding and re-committing worked.
There is a very complete Django
pre-committutorial in codeburst.io
Enable GitHub actions
I also love this part. Creating workflows so our code gets tested directly on GitHub.
But before we add the actions we have to create some tests to execute and some functionality to be tested.
Create a test URL
First let’s create a test-path/ route that returns a simple Hello world message when visited.
# config/urls.py
from django.contrib import admin
from django.urls import path
from django.http import HttpResponse

urlpatterns = [
    path('admin/', admin.site.urls),
    path('test-path/', lambda req: HttpResponse('Hello world'), name='test-path')
]
As you can see, I created the test-path/ route, that when visited returns a Hello world message. To test this out visit http://localhost:8000/test-path/ and verify that you get the correct message.
The idea behind this small functionality is to have something to test against when we setup GitHub actions.
Setup testing
Now, lets setup testing in Django…
This is very easy since testing in Django comes out of the box. That’s a reason to call Django a bateries included framework.
So, create a file called config/test.py with the following 2 tests:
# config/test.py
from django.test import TestCase
from django.urls import reverse

class FirstTest(TestCase):
    def test_that_invalid_fails(self):
        """ This test fails on purpose """
        self.assertTrue(False)

    def test_that_testing_works(self):
        """ This test validates that the route /test-path/ is a valid path """
        res = self.client.get(reverse('test-path'))
        self.assertEqual(200, res.status_code)
As you can see, the second test tests the route we created previously.
To verify that the tests are executed, in the terminal issue (make sure that the virtual environment is still activated):
python manage.py test
And this will output
Loading .env environment variables...
Creating test database for alias 'default'...
System check identified no issues (0 silenced).
F.
======================================================================
FAIL: test_that_invalid_fails (config.test.FirstTest)
This test fails on purpose
----------------------------------------------------------------------
Traceback (most recent call last):
  File "/Users/mario/Projects/django-first-app/config/test.py", line 8, in test_that_invalid_fails
    self.assertTrue(False)
AssertionError: False is not true

----------------------------------------------------------------------
Ran 2 tests in 0.046s

FAILED (failures=1)
Destroying test database for alias 'default'...
Great! We have one valid test and one invalid test. This will come in handy when we configure GitHub actions.
Setup a GitHub workflow
To setup GitHub actions you need only to create a .yaml workflow file in the .github/workflows/ directory with the instructions on how to create a python environment that executes the testing functions.
In https://docs.github.com/en/actions, under the section building and testing python you can get to the example python workflow file which is a good starting point for a vanilla python project. The problem with that file is that assumes that you are using
pipand notpipenv.
# .github/workflows/django-tests.yaml
name: Execute django tests

on: [push]

jobs:
  build:
    runs-on: ubuntu-latest
    strategy:
      matrix:
        python-version: [3.9]

    steps:
      - name: Checkout the projects code
        uses: actions/checkout@v2

      - name: Set up Python ${{ matrix.python-version }}
        uses: actions/setup-python@v2
        with:
          python-version: ${{ matrix.python-version }}

      - name: Install pipenv
        run: |
          python -m pip install --upgrade pipenv wheel

      - id: cache-pipenv
        uses: actions/cache@v1
        with:
          path: ~/.local/share/virtualenvs/
          key: ${{ runner.os }}-pipenv-${{ hashFiles('**/Pipfile.lock') }}

      - name: Install dependencies
        if: steps.cache-pipenv.outputs.cache-hit != 'true'
        run: |
          pipenv install --deploy --dev

      - name: Execute the tests
        run: |
          pipenv run python manage.py test
        env:
          SECRET_KEY: "xxxxxxxxxxxxxxxxxxxxxxxxxxxxxxxxxxxxxxxxxxxxxxxxxx"
In this example use
xxxxxx...for theSECRET_KEYactually. We need a non empty secret but just for testing.
A couple of things to point out about that workflow:
- Since we’re using
pipenvwe verify if there is a cache before we install dependencies - The execute tests command is
pipenv run python manage.py testthat’s because we need to load activate a virtual environment and load variables into it - We’re using an insecure
SECRET_KEYvalue since we are just testing - If we need a database for our tests, we have to configure it before the
Execute the testsstep
A more complete workflow file can be found in this gist from Anthony Lukach.
Commit and verify
Up until now we have:
- A temp route to test in
/test-path/ - 2 test functions in
config/test.py - A workflow
.yamlwith the necesary steps to execute the tests in GitHub
The only thing left to do is to create a repository (which you should know how to do) in GitHub and add it as a remote to our current project:
git add .
git commit -m "Adding GitHub actions workflow for automatic testing"
git remote add origin [email protected]:marioy47/django-development-environment.git
git push -u origin main
An go to GitHub, under the Actions tab to verify that the tests are running:
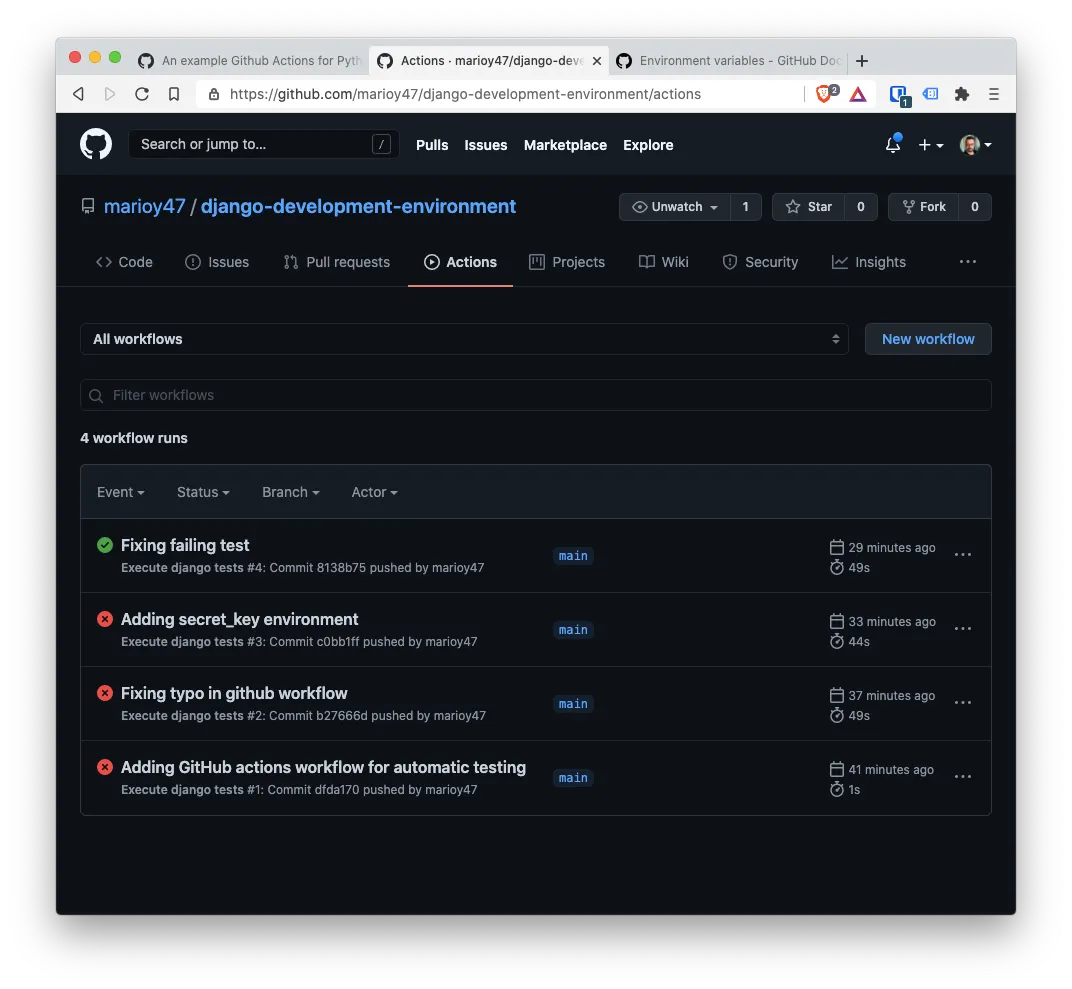
Notice that the firsts tests failed and the last is a success. That’s because I when into config/test.py and changed the failing test:
# config/test.py
from django.test import TestCase
from django.urls import reverse


class FirstTest(TestCase):
    def test_that_invalid_fails(self):
        """ This test fails on purpose """
        self.assertTrue(True)

    def test_that_testing_works(self):
        """ This test validates that the route /test-path/ is a valid path """
        res = self.client.get(reverse("test-path"))
        self.assertEqual(200, res.status_code)
If you take a closer look, you can see that now we assert that true is true: self.assertTrue(True)
Create and configure a PostgreSQL database
At the beginning we installed PostgreSQL and made it run at start up. Now lest install a Postgress Python driver so Django can actually connect to it.
In the terminal execute:
pipenv install psycopg2
createdb django_project
psql -l
Let me explain what each of those commands do:
- Install the Python PostgreSQL connector psycopg
- Create a new database in PostgreSQL
- List the databases to verify that the new one got created
Then we need to modify config/settings.py, where the DATABASES variable is configured, to specify the connection values:
# config/settings.py
# ...
DATABASES = {
    'default': {
        'ENGINE': 'django.db.backends.postgresql_psycopg2',
        'NAME': os.environ.get('DB_NAME', ''),
        'USER': os.environ.get('DB_USER', ''),
        'PASSWORD': os.environ.get('DB_PASS', ''),
        'HOST': os.environ.get('DB_HOST', 'localhost'),
        'PORT': os.environ.get('DB_PORT', '5432'),
    }
}
# ...
And finally we need to modify our .env file adding the values of the configuration we just changed:
# .env
SECRET_KEY = '**************************************************'

# Database values
DB_NAME = 'django_project'
DB_USER = 'mario'
DB_PASS = 'mypass'
DB_HOST = 'localhost'
DB_PORT = '5432'
We all of this setted up you have to:
- Leave the virtual environment
- Re enter it
- Make the migrations
This is done with:
exit
pipenv shell
python manage.py makemigrations
python manage.py migrate
To check that the migrations worked, list the table django_migrations in the django_project database and verify that the migrations got actually executed:
psql -U mario -d django_project -c "select * from django_migrations"
Final toughts
As you can see, we just configured an development environment for Django, without the need of creating one application.
The idea is the final result will help you to continue on the creation of a real application. But that a topic for another article.