Creating and publishing presentations using Markdown
Table Of Contents
I know people that just hate markdown. They hate the fact that they can not see bold or underlined text while editing. That you have to enclose text in batiks or asterisks to change how it’s displayed. Or that headlines and regular text have the same size.
I am not one of those people… I loooove Markdown.
As a text driven guy that does everything in the keyboard, that uses NeoVim and Zsh on a regular basis, and that hates to touch the mouse or trackpad, I have to say that there is nothing better than writing documentation or articles in Markdown.
Let me give you some additional reasons:
- Markdown can be converted to almost everything: HTML, PDF, Latex, etc. And all of this with open source tools.
- Markdown documents are pretty readable by themselves. They are just text with some simple decoration symbols. Try doing that on an HTML or LateX file.
- You can write Markdown in literally any editor. No need of MS Word or Mac Pages. Or any other kind of tool for that matter.
- Markdown is Version Control friendly. You can keep versions of your documents using Git, SVN, CVS, etc. After all, its just text.
That’s why I use Markdown for almost everything, including this blog. Is written in Markdown and converted to HTML with JavaScript using Gatsby
So I wanted to implement the same workflow, but for presentations. I wanted to create Slides using markdown, and then converted them to PDF or HTML.
But it turns out that there is more than one way to do it. Here I’ll show a few.
So how do you create Slides with Markdown?
Before we get into the actual tools to convert Markdown to PDF, or HTML, lets first talk on how to create a Markdown presentation. In other words, how to create slides.
If you already know Markdown, you only have to take into account 3 things when creating Markdown slides documents:
- You only need one markdown file for all your slides
- You separate slides by using
---(3 dashes) between the content of each slide. And this can be configured on some conversion tools - The first Heading 1 or
#is the title of the slide
So this could be a 3 slide markdown presentation:
# First slide
- List item 1
- List item 2
- List item 3
---
# Second slide

---
## Third slide
> Just a quote here
And that’s it, that’s a 3 slide presentation!
If you open the previous markdown with Marp (which I’ll will explain further down) this is what You’ll get:


The BIG caveat on creating slides with Markdown is that it depends on the tools you are using to covert markdown to PDF/HTML/ODF. Fortunately, most of the tools follow the previous 3 principles.
Front matter
The previous “presentation” consisted of only 3 slides. Easy right? But what if you want to add Meta information to your final PDF or HTML file? Information like:
- The Author
- The Creation Date
- The Title that gets displayed in the browser tab when the markdown gets converted to HTML for instance
Also, what about styling:
- Set a background color
- Apply a theme
- Override some of the styling
That’s what the Front Matter of the presentation is used for.
This is a presentation of one slide, but with Front Matter:
---
title: Presentation with Front Matter
author: Mario Yepes
date: 2022-03-27
theme: gaia
---

# First Slide

Content of the first slide
As you can see, the Front Matter is a small section with keys and values that can be almost anything. But as as suggestion you should provide a Front Matter with at lest:
- A Title of the presentation with the key
title - The Authors name with the key
author - The Creation Date with
date
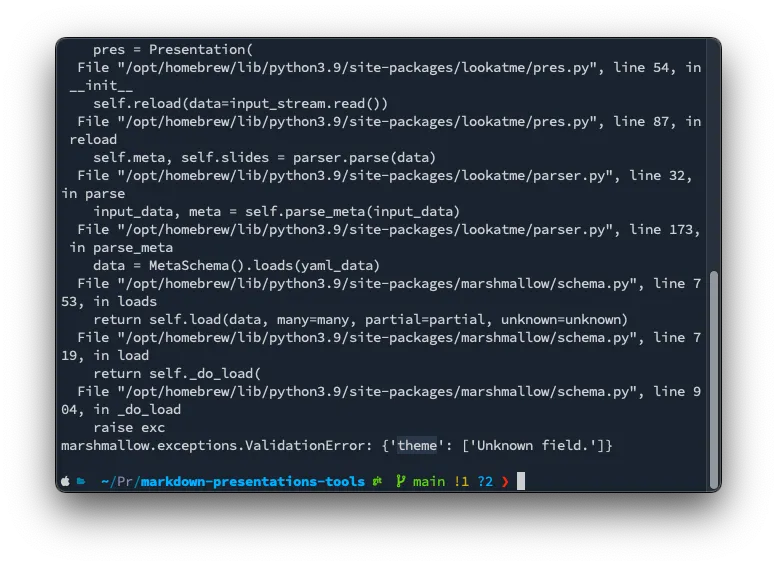
Note: Some tools will break if you use unsupported Front Matter options. An example of this is the tool lookatme which doesn’t support the theme key.
How the Front Matter affects the final presentation and which keys are valid changes from tool to tool, so I’ll try to specify which items can be in the front matter but it’s up to you to find out the complete list of items that can be placed in the front matter depending on the tools you end up selecting.
You can read more about the Front Matter here
Creating a test presentation
OK, enough of theory. Les’s create a Markdown Presentation and convert it to HTML and PDF with different tools. Our first step will be creating a Git repo and initialize it with npm:
mkdir learn-markdown-presentations
cd $_
npm init -y
touch slides.md
The reason why I’m using npm is to create the package.json file which I’ll use to automate some of the steps and have some sort of a Makefile where I can save all the commands I’ll be using to convert the presentation to HTML or PDF. Also, because even though all the tools can be installed globally, I prefer to install them locally.
Next, add the following contents to the slides.md file:
---
title: A Markdown example
date: 2022-03-27
author: Mario Yepes
---
# A test presentation
By: _Mario Yepes <https://marioyepes.com>_
---
# Headers
## Heading 2
### Heading 3
#### Heading 4
More text
---
# Bulleted Lists
- Top level
- Level 2
- Level 3
- Level 4
---
# Apearing lists
Some tools support showing items one by one
- Item 1
- Item 2
- Item 3
---
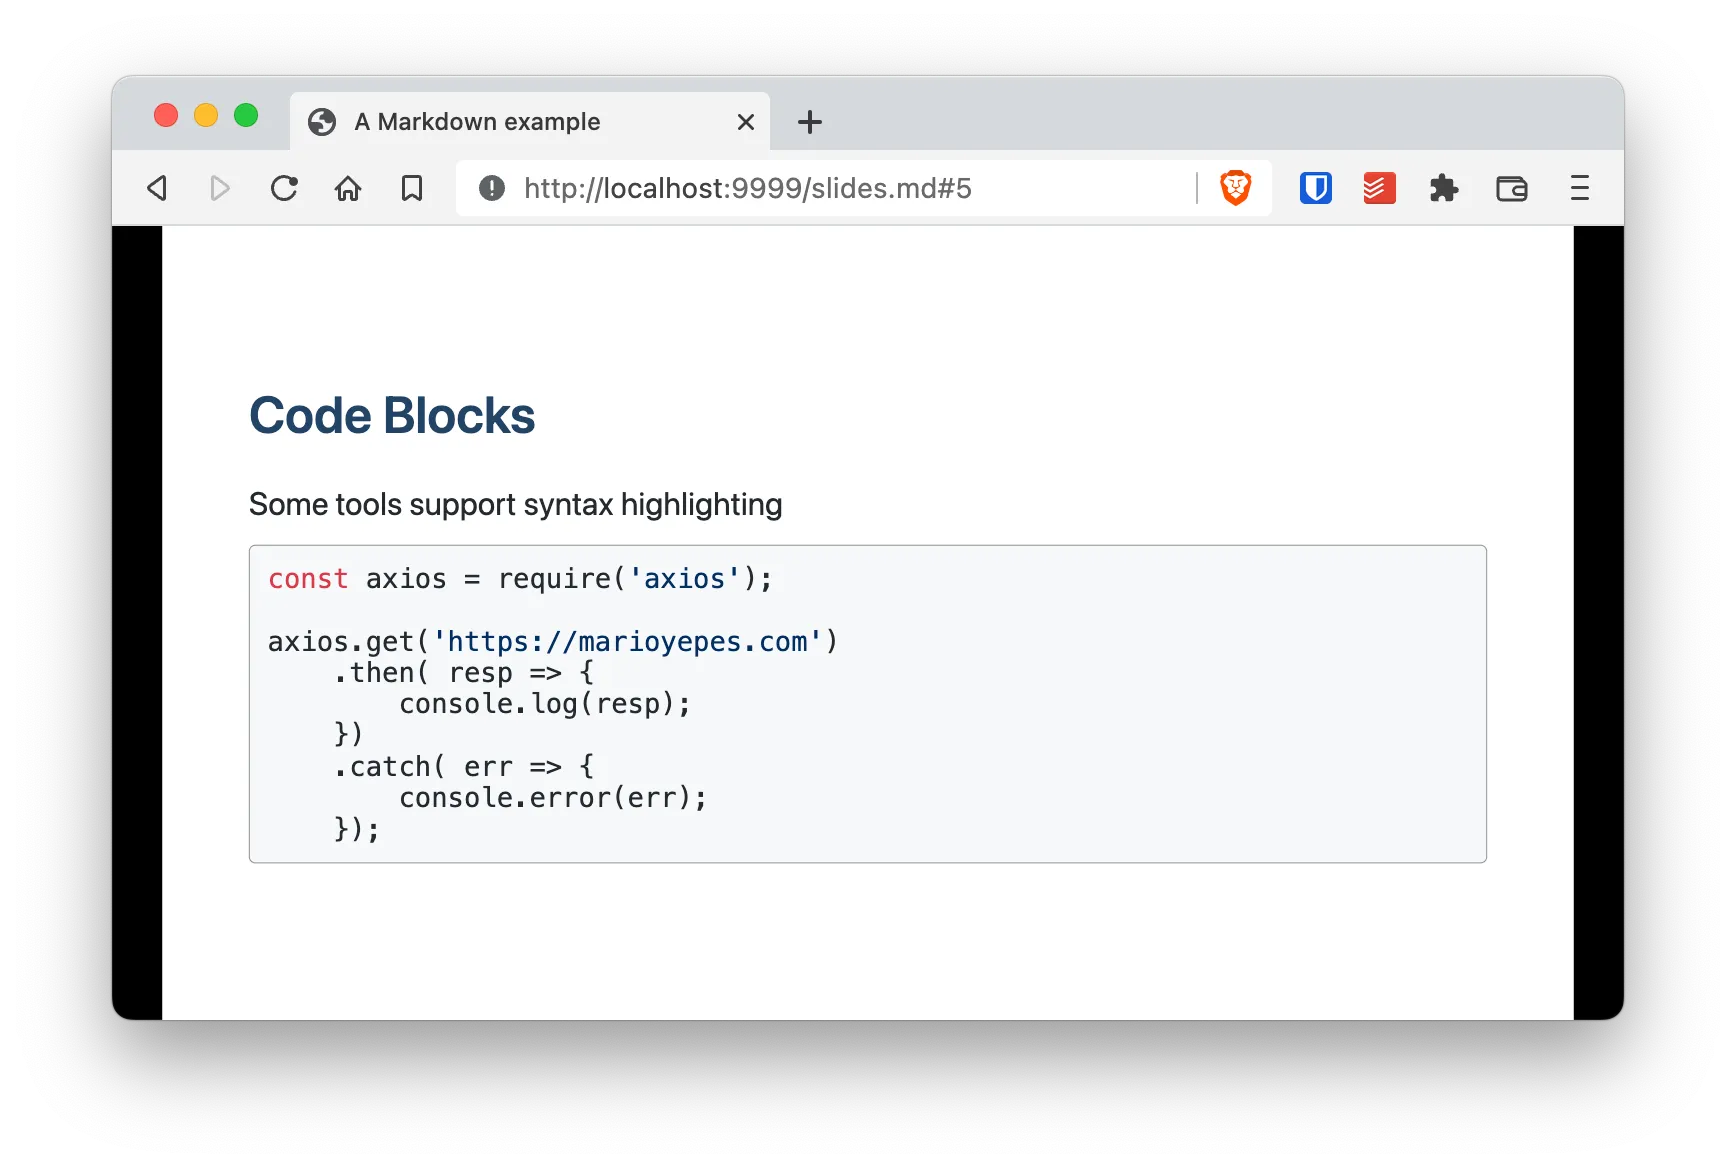
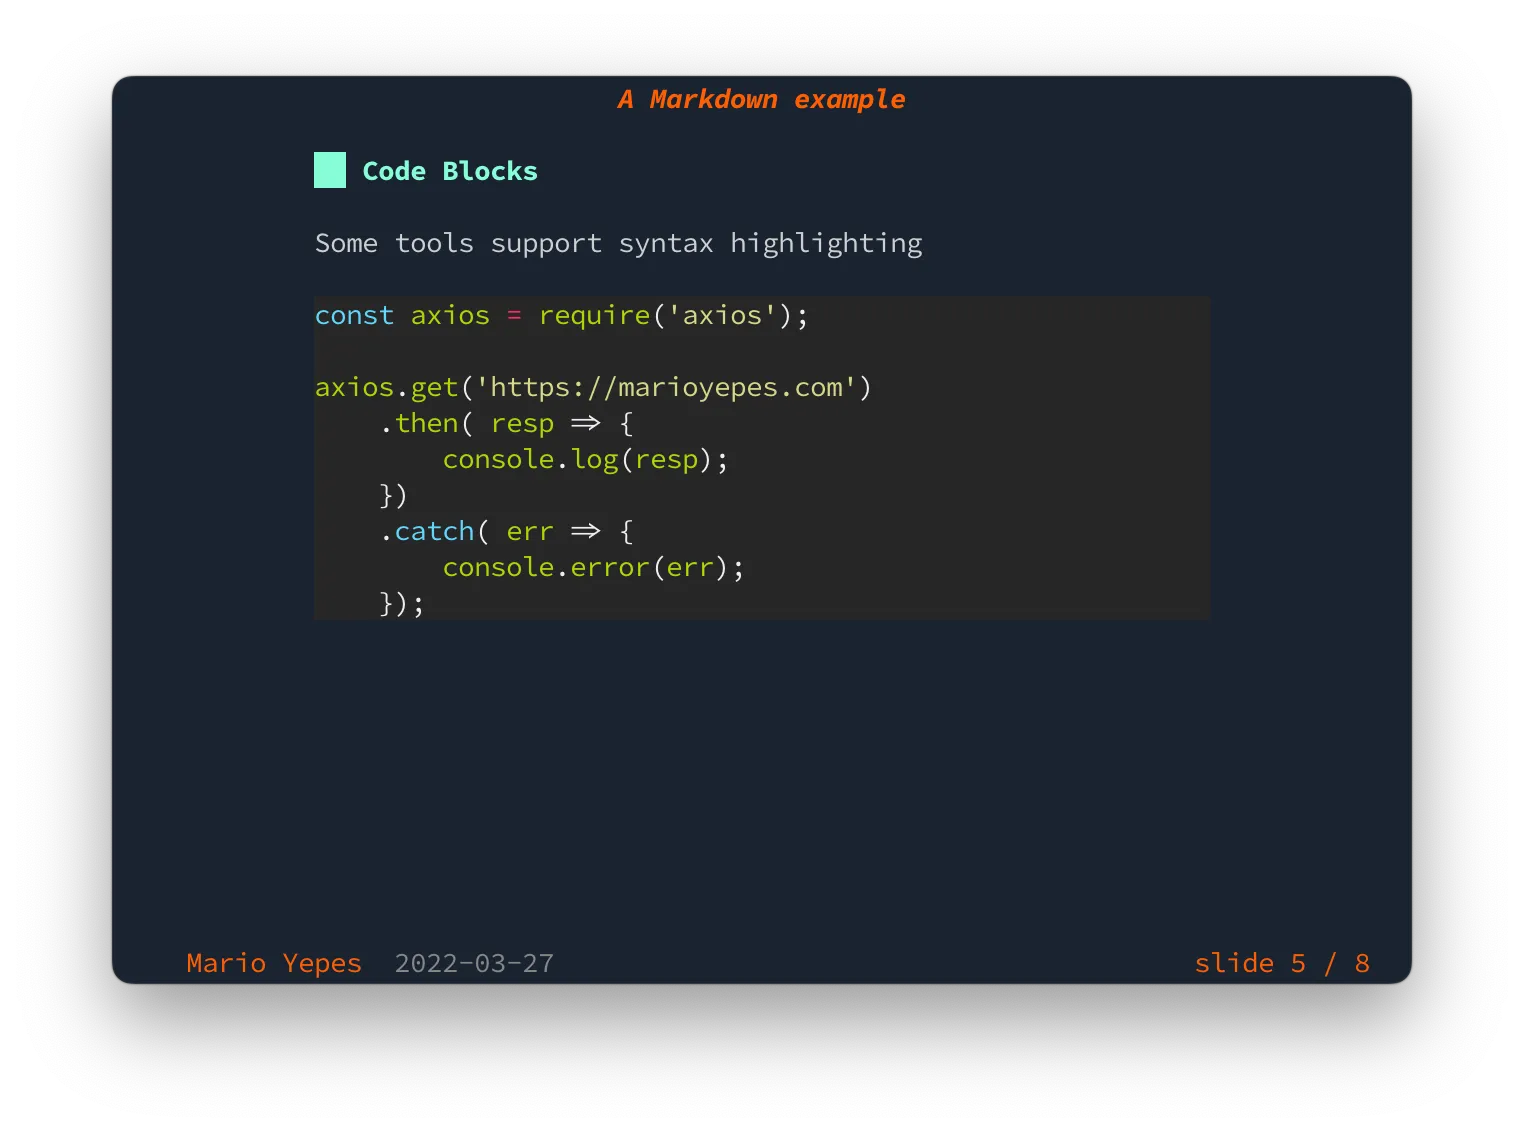
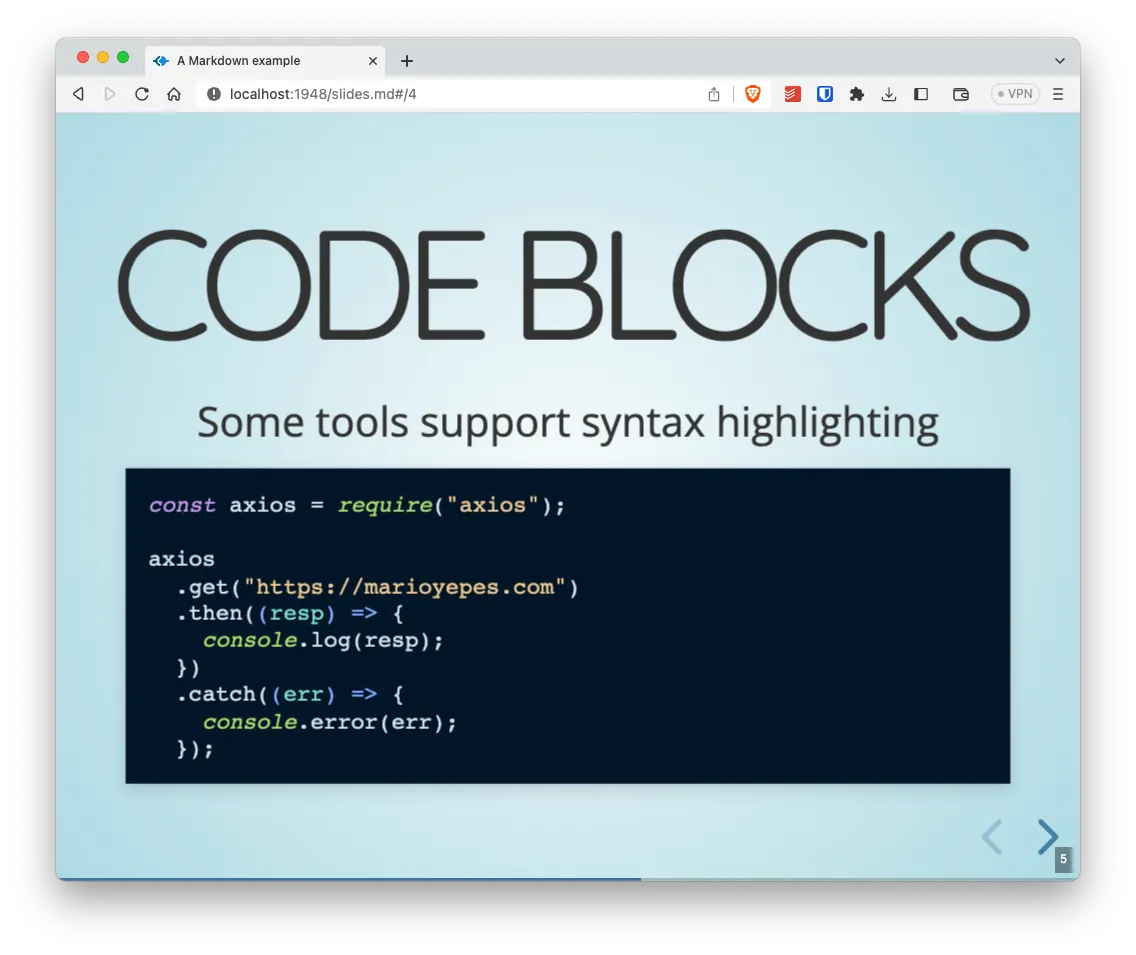
# Code Blocks
Some tools support syntax highlighting
``javascript
const axios = require('axios');
axios.get('https://marioyepes.com')
.then( resp => {
console.log(resp);
})
.catch( err => {
console.error(err);
});
``
---
# Numbered Lists
- Top level
1. Level 2
1. Level 3
1. Level 3
1. Level 3
- Level 4
---
# Tables
| h1 | h2 | h3 |
| ------ | ------ | ------ |
| value1 | value2 | value3 |
| value1 | value2 | value3 |
| value1 | value2 | value3 |
| value1 | value2 | value3 |
| value1 | value2 | value3 |
What is left to do is to install and configure the tool we’ll use to convert and/or lint our presentation.
Linting your markdown with Markdownlint
I’m an absolute nerd for code quality. That’s why I use tools like eslint, prettier, phpcs and of course markdownlint.
If you are like me, then I recommend you install markdownlint-cli to lint your presentation:
npm install --save-dev markdownlint-cli
And then create the file .markdownlint.json with the following contents:
{
  "line-length": false,
  "single-h1": false,
  "ul-style": false
}
This will allow you to fix format issues in your markdown file ignoring 3 rules:
- Do not complain about lines longer than 80 characters. This one is for me since I tend to write long lines in my slides and I don’t like to break them
- Do not complain about having more than one
H1heading. Very important since each slide will start with anH1 - Do not change the
*to-in bulleted lists. This is very specific to Marp.
Now you can use the command npx markdownlint --fix slides.md to fix any linting issues.
And better yet if you add the following new scripts in package.json (see, already useful):
{
  "...",
  "scripts": {
    "...",
    "lint": "markdownlint *.md",
    "format": "markdownlint --fix *.md"
  }
}
Now you can lint and format your files with:
npm run lint
npm run format
With linting in place, we’re ready for our first conversion tool.
First tool: Marp
By far, the easies way to convert Markdown presentations to HTML is using Marp. And the reason is because it can be used as a cli tool, but also you can use it inside Visual Studio Code with an extension
As I said I’m a CLI guy, so I’m going to focus on the marp-cli tool. That’s why I’m going to install it in the current project with:
npm install --save-dev @marp-team/marp-cli
And here is the cool part. You can start your presentation using:
$ PORT=9999 npx marp -s .
[  INFO ] [Server mode] Start server listened at http://localhost:9999/ ...
The PORT variable is not necessary. If you omit it it will use the port 8080. But since us developers use the 8080 port so often, and that’s Marp’s default port, I thought it was best to mention it right from the get go.
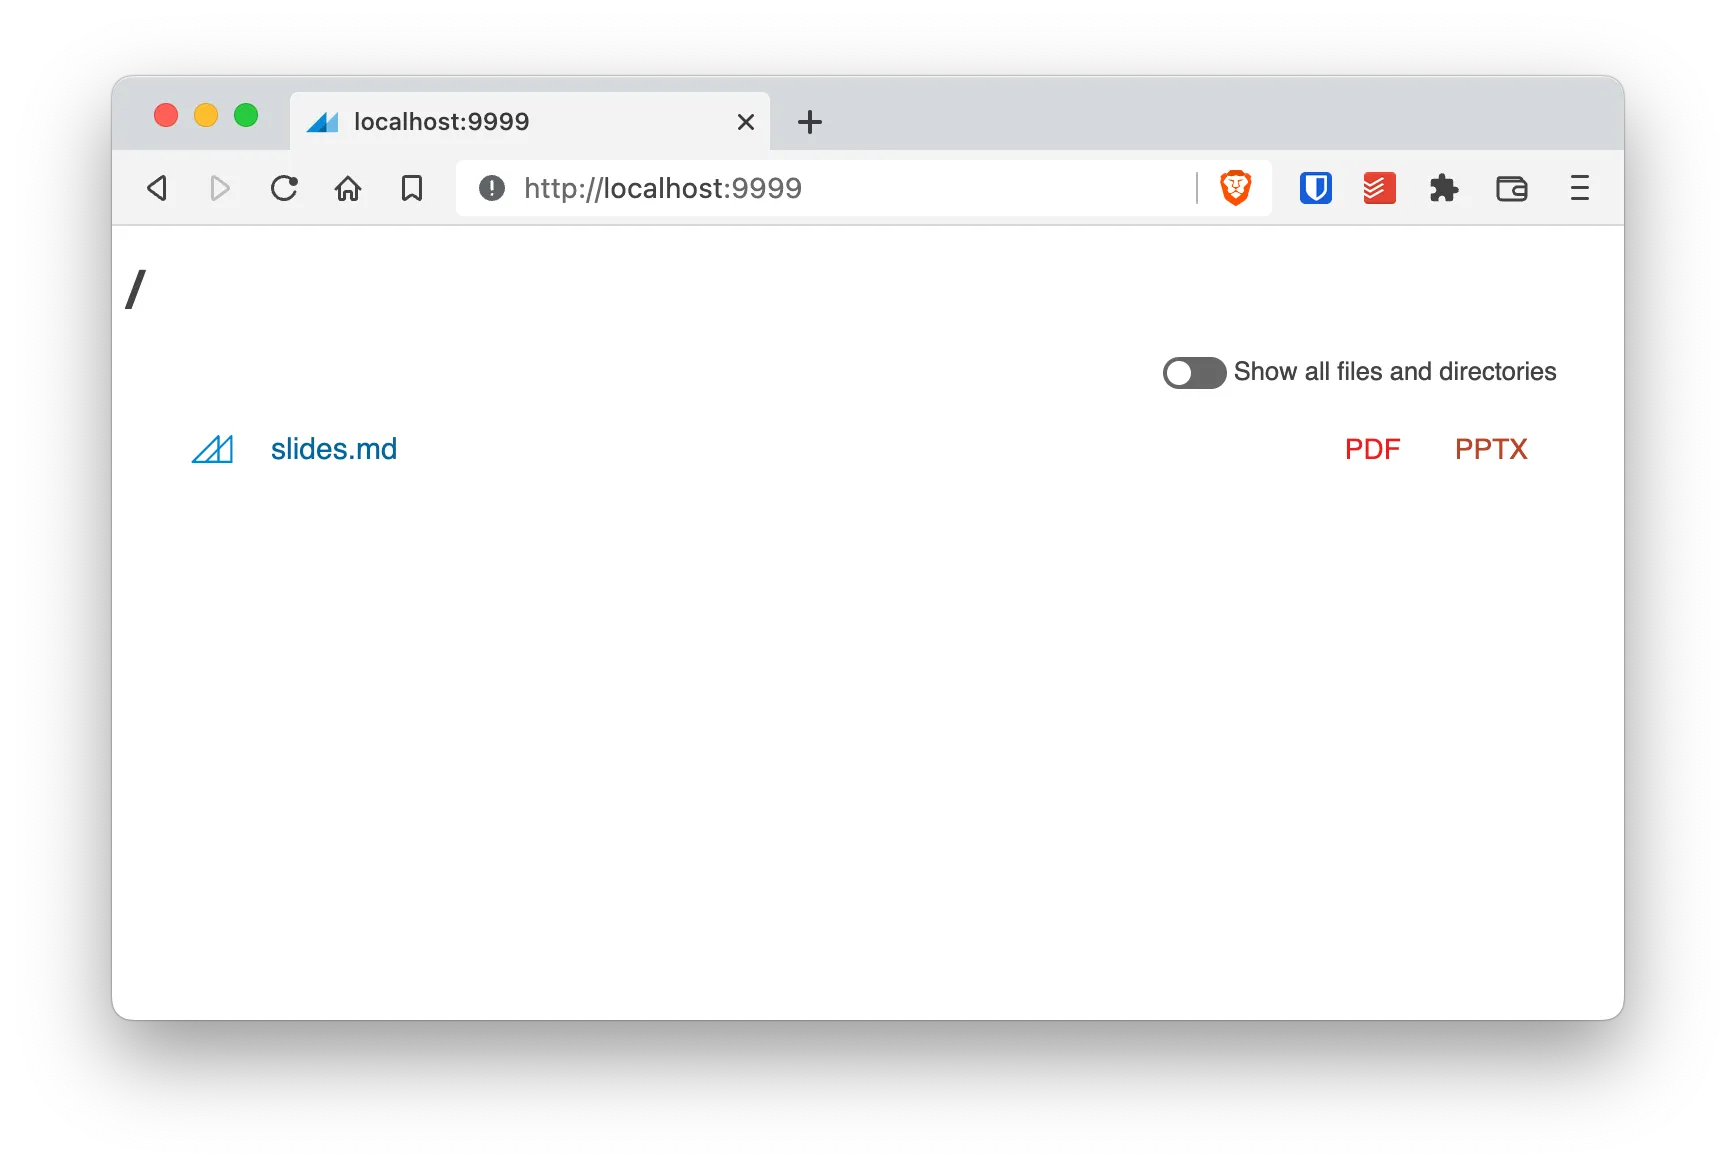
And if you click on slides.md you will see your presentation right on the browser:
A useful tip is to add the previous command as a script in your package.json file:
{
  "...",
  "scripts": {
    "marp:serve": "PORT=9999 marp -s .",
    "marp:export": "marp slides.md"
  },
  "..."
}
And run the presentation with
npm run marp:serve
If you want to publish your presentation somewhere, then you can execute npx marp slides.md and you’ll get a slides.html file on the root directory of your project.
Marp’s Front Matter
Marp supports a lot of configuration directives in the Front Matter. But that could make your file to be incompatible with other tools. That’s why I recommend the creation of a .marprc.yml file with the Front Matter directives:
Note: At the time of this writing, April 10 2023, the .marprc.yml does not support all the configuration options
# .marprc.yml

theme: gaia
style: |
  section {
    background-color: #ccc;
  }
paginate: true
This would make your presentation look like this:
Styling
One very cool thing about Marp is that it bundles themes that can be configured using CSS.
To enable a theme you could add key theme in the Front Matter. And then, before the first slide (the first Title) add a CSS code like so:
---
marp: true
author: Mario Yepes
size: 4:3
theme: gaia
---

<style>
    :root {
        --color-background: #101010;
        --color-foreground: #FFFFFF;
    }
    h1 {
        font-family: Courier New;
    }
</style>
Note that this can make the markdown not compatible with other tools.
You can read more about the Theme directive here
Backgrounds
It’s very common that you want a slide to have a different background or add an image as a background. This can be done by using a local directive.
Again, this is not compatible with other tools, but very cool to use:
---
 <!-- Only works in Marp -->
# Slide with background to the left

Marp Resources
There aren’t may Marp resources outside the official documentation. But it’s worth mentioning this great presentation about Marp created by it’s author. It explain some advanced concepts about the tool.
Second tool: Lookatme
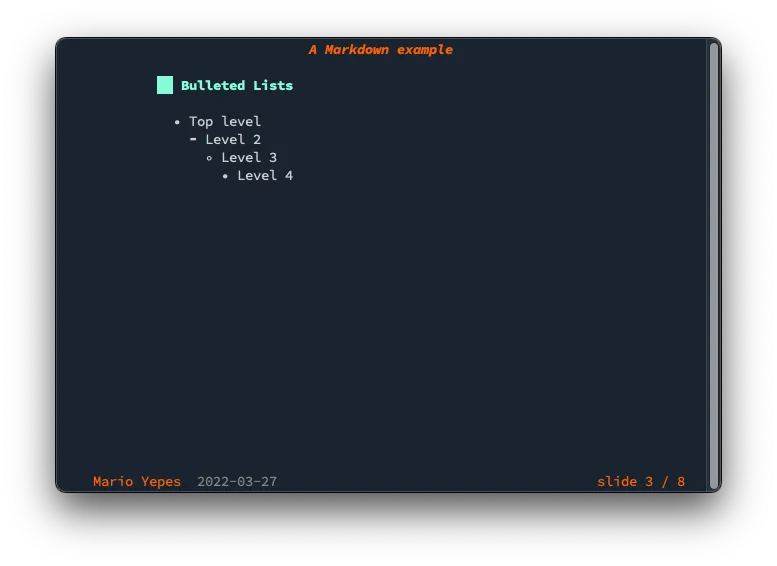
The second tool is my absolute favorite because is 100% terminal based.
With lookatme you can present directly in the terminal. Which in my opinion is very, very… Very VERY cool.
Lookatme is written in Python and you need to have pip version 3 installed in your system. If you meet this requirement, you only have to execute pip install to install it:
There is an option to run
lookatmeusing Docker. But that’s beyond the scope of this article.
pip3 install lookatme
And you start a presentation with:
lookatme slides.md
One big drawback with lookatme is that you can NOT add non standard Front Matter keys. If you do you’ll get an exception since lookatme does not ignore incompatibilities.
Lookatme options
Lookatme doesn’t have that many options since it works in the terminal. So instead of customizing the presentation using the Front Matter, I recommend using the CLI options. This makes your slides less error prone:
$ lookatme --help
Usage: lookatme [OPTIONS] [INPUT_FILES]...

  lookatme - An interactive, terminal-based markdown presentation tool.

  See https://lookatme.readthedocs.io/en/v2.3.2 for documentation

Options:
  --debug
  -l, --log PATH
  -t, --theme [dark|light]
  -s, --style [default|emacs|friendly|friendly_grayscale|colorful|autumn|murphy|manni|material|monokai|perldoc|pastie|borland|trac|native|fruity|bw|vim|vs|tango|rrt|xcode|igor|paraiso-light|paraiso-dark|lovelace|algol|algol_nu|arduino|rainbow_dash|abap|solarized-dark|solarized-light|sas|stata|stata-light|stata-dark|inkpot|zenburn|gruvbox-dark|gruvbox-light|dracula|one-dark|lilypond]
  --dump-styles                   Dump the resolved styles that will be used
                                  with the presentation to stdout

  --live, --live-reload           Watch the input filename for modifications
                                  and automatically reload

  -s, --safe                      Do not load any new extensions specified in
                                  the source markdown. Extensions specified
                                  via env var or -e are still loaded

  --no-ext-warn                   Load new extensions specified in the source
                                  markdown without warning

  -i, --ignore-ext-failure        Ignore load failures of extensions
  -e, --exts TEXT                 A comma-separated list of extension names to
                                  automatically load (LOOKATME_EXTS)

  --single, --one                 Render the source as a single slide
  --version                       Show the version and exit.
  --help                          Show this message and exit.
The one you’ll use more often is --style which will change the color scheme for your code:
lookatme --style monokay slides.md
lookatme --style solarized-light slides.md

For more options and documentation you can got the official documentation
And as we’ve done before, you can add the command to package.json:
{
  "..."
  "scripts": {
    "...",
    "lookatme": "lookatme --style=monokai slides.md"
  },
  "..."
}
Third Tool: Reveal-md
If you want to go for broke, then Reveal.js is the tool for you!
Now, Reveal.js is actually a very complicated tool to use. So complicated that it’s author sells a 5 hour course on how to create presentations with the tool. If you’ve used Slides.com then you have an idea of what Reveal.js can do since that’s the engine behind the site.
The “drawback”, is that to create presentations you have to create a React application. This means that you have to create HTML and JavaScript to have a simple presentation. And as you’ve noticed, we want to use Markdown, not HTML. Still, if you want to go that route, you can follow the documentation on how to install and create a presentation using just Reveal.js.
Thankfully Lars Kappert created reveal-md which, in his own words, is reveal.js on steroids. But most importantly, it supports displaying presentations created in Markdown!
Since reveal-md is an npm package, you can install it with:
npm install --save-dev reveal-md
And to start the presentation you can use good ‘ol npx:
npx reveal-md -w slides.md
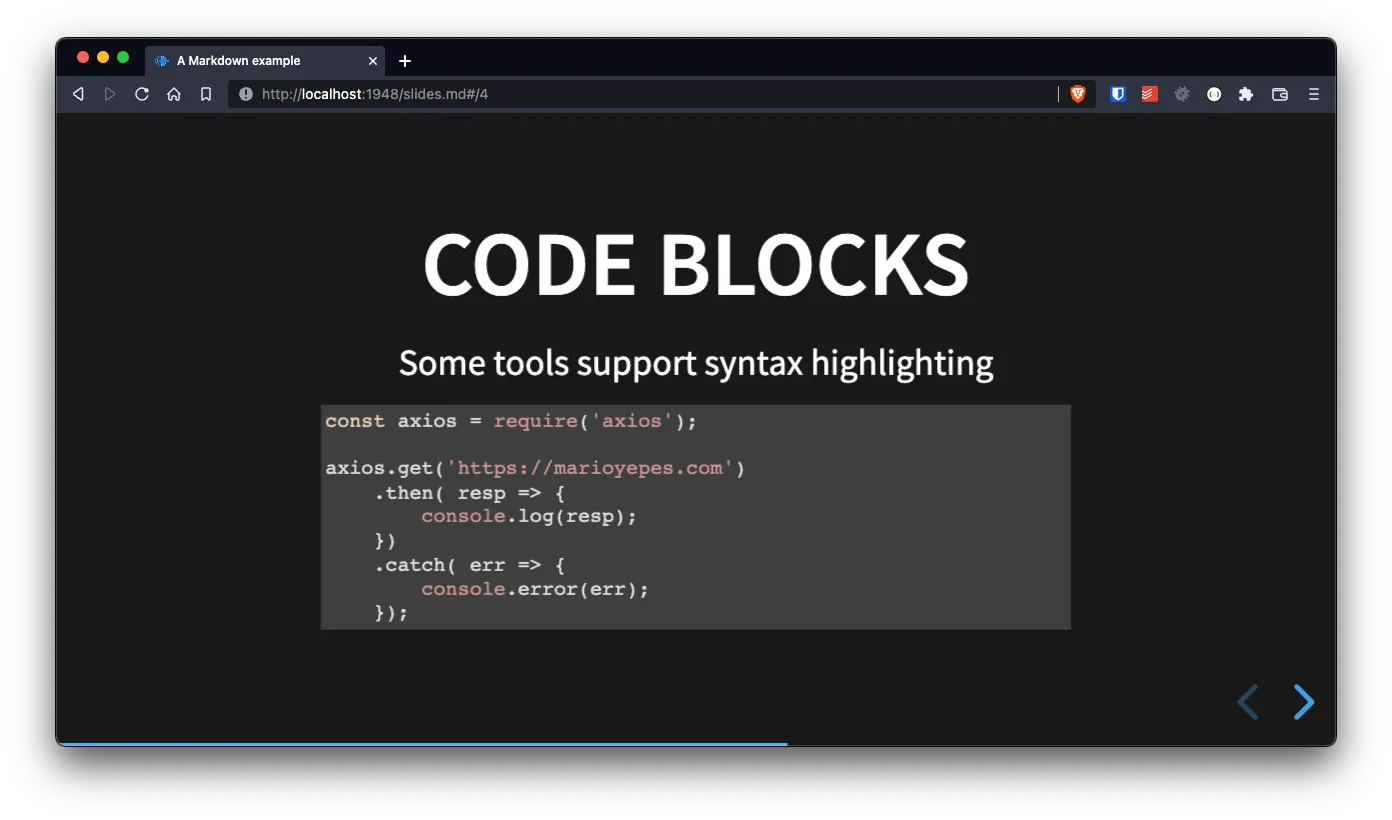
Notice that reveal-md uses port 1948 by default, so keep that in mind when you are starting your presentation. Or better yet, use the --port parameter to change it for something more friendly.
As most of the tools we’ve seen, you can modify the style and several Front Matter options with cli parameters:
npx reveal-md slides.md --theme solarized --watch

Here the --watch flag will reload the presentation when the slides.md file is changed.
Themes
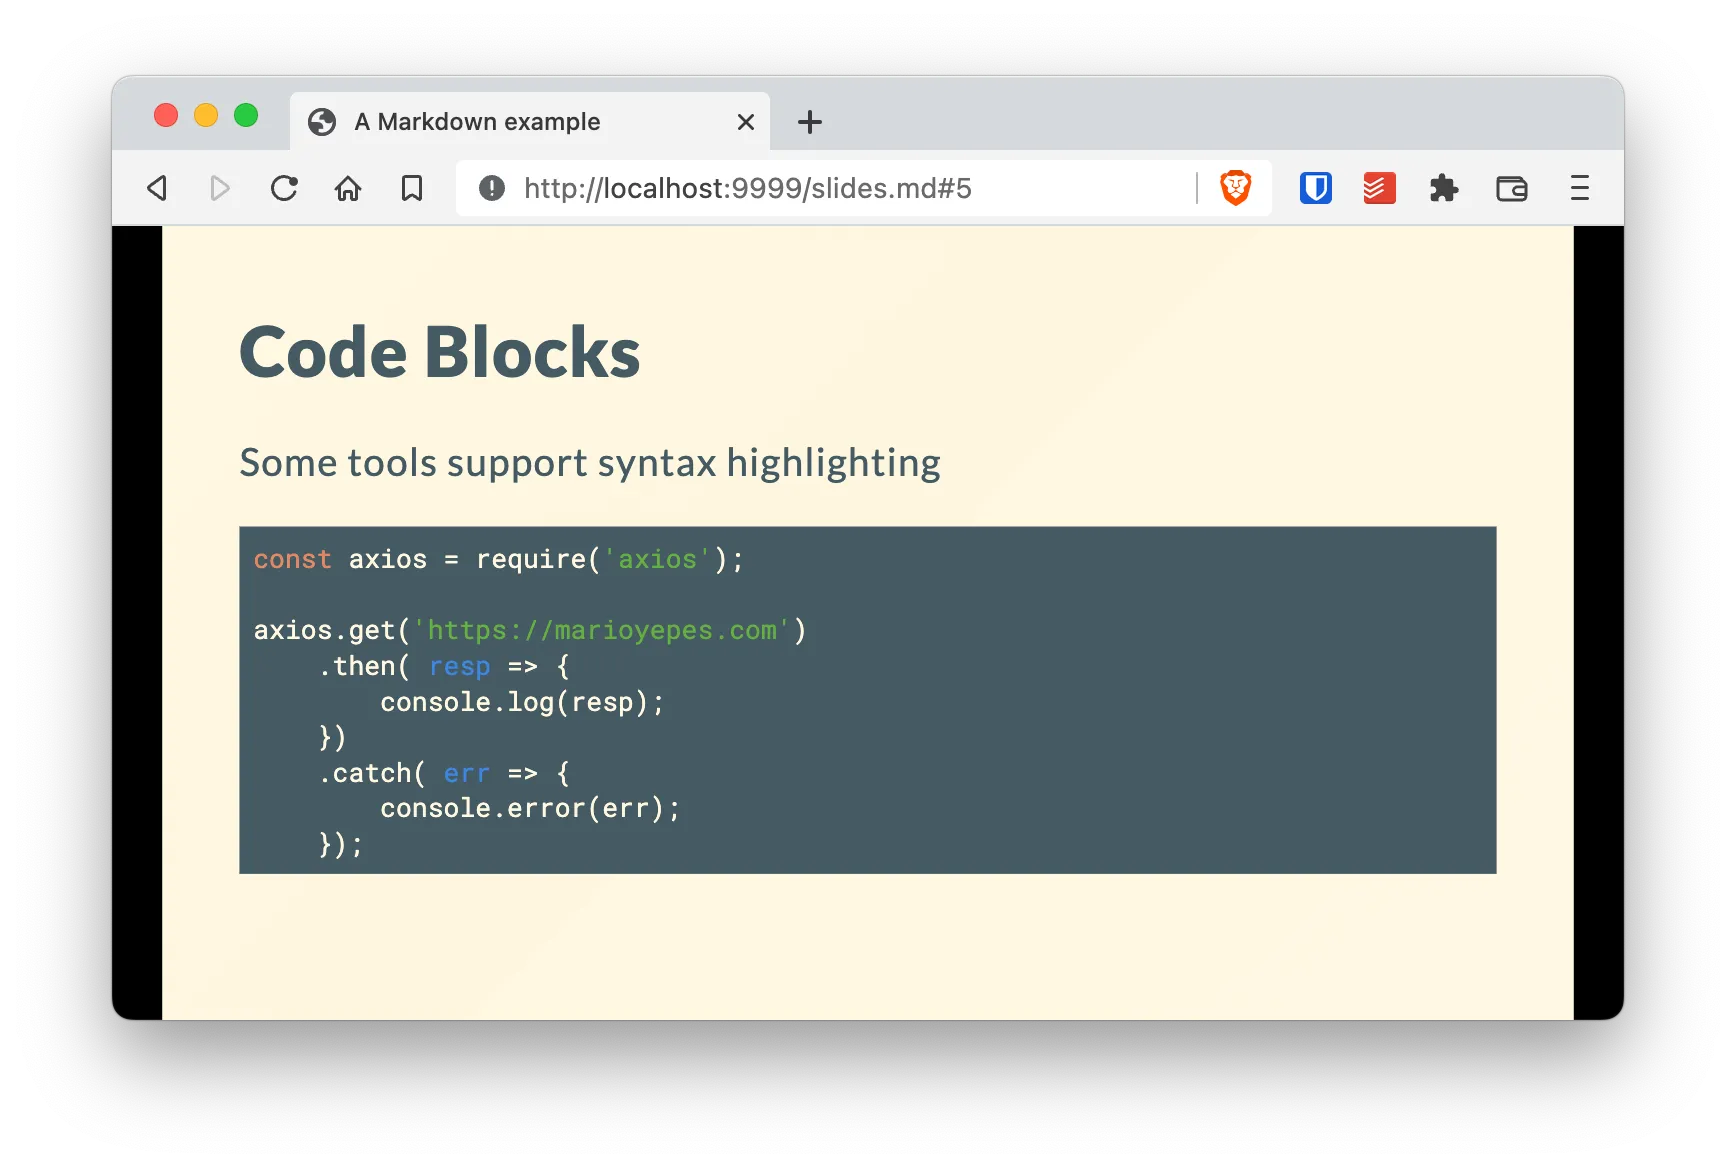
Reveal-md is really powerful when it comes to theming, not only you can change the slide theme, but the code highlight theme. Just pass the --theme flag pointing to a local or an online css stylesheet and you are good to go.
npx reveal-md slides.md --theme black --highlight-theme monokai
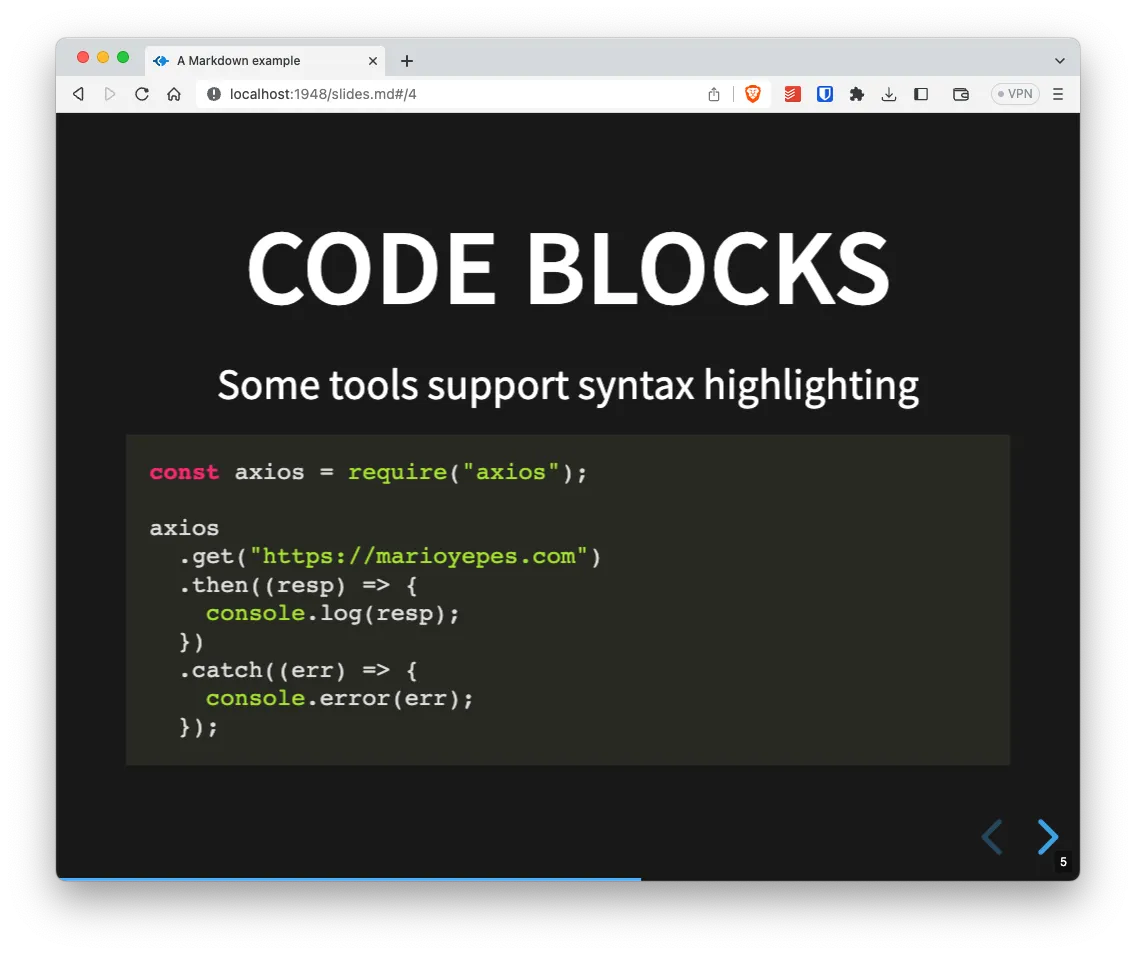
npx reveal-md slides.md --theme sky --highlight-theme night-owl
You can see a list of presentation themes here. And a list of highlight themes here
Advanced styling
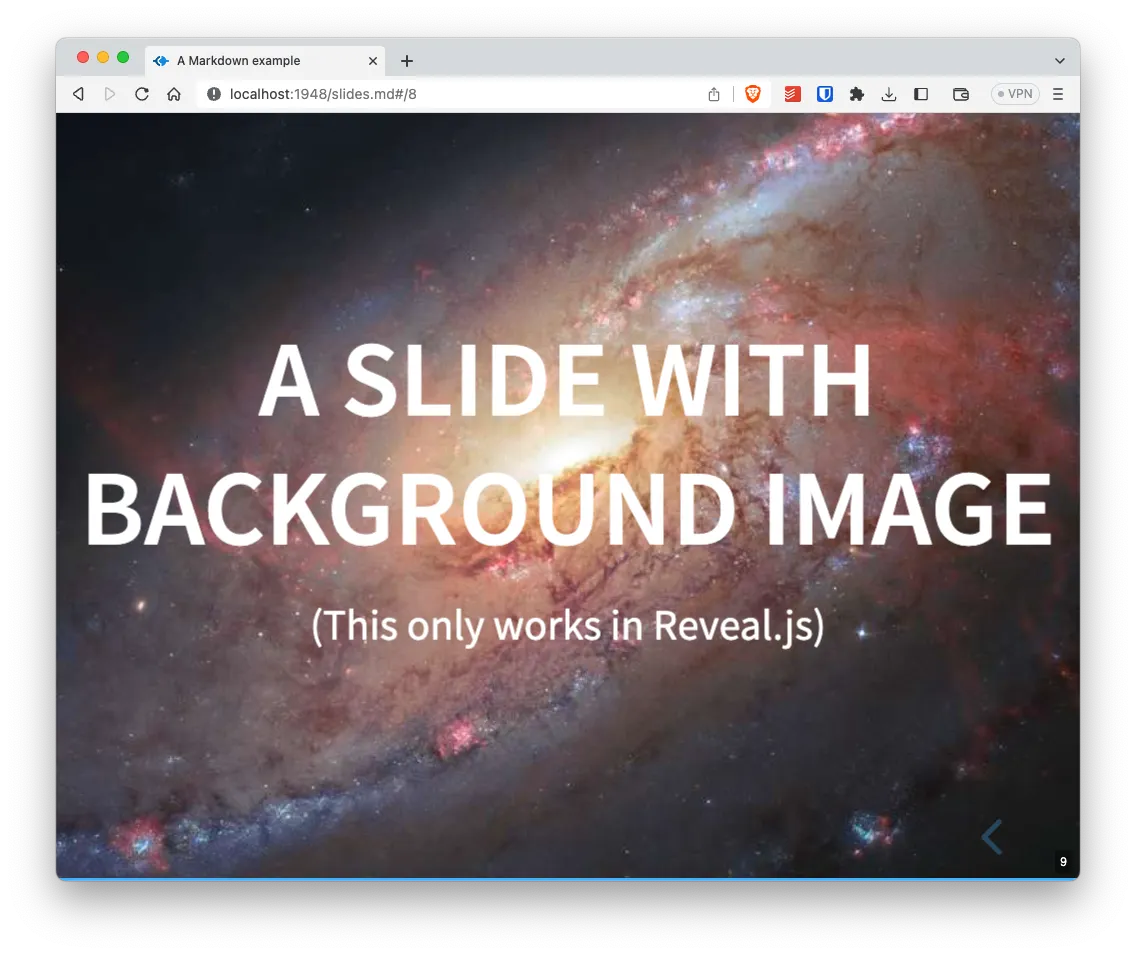
But what is really powerful is when you integrate the reveal.js slide attributes to add things like background images:
# A slide with background image

(This only works in Reveal.js)

<!-- .slide: data-background="https://spaceholder.cc/i/800x600" -->
Or assign a custom class or id attributes
---

# This slide has a custom class and custom ID

(This works only with `reveal-md`)

<!-- .slide: class="my-custom-class" id="my-custom-id" -->

Reveal-md Override CSS
With Themes you can create or use a complete look for your presentation, but if you only want to change a couple of things from your presentation, then you can use a separate CSS file with just then thing you want to change.
And if you add to this the fact that you Reveal use CSS variables to customize parts of the presentation like the background color, you have a pretty powerful and flexible way to make the presentations your own.
Take for instance this CSS file:
:root {
  --r-background-color: tan;
}
If you execute reveal-md with the --css parameter, you can change the background color:
npx reveal-md slides.md --css reveal-custom.css --watch
The css variables can change from theme to theme, so just open the Chrome Tools and look for what you can change.
Reveal-md options
In a similar fashion as Marp, you can configure your presentation by using a JSON file called reveal-md.json and place it in the root of your project. Here you can add all of the reveal.js options
{
  "assetsDir": "assets",
  "css": ["reveal-custom.css"],
  "highlightTheme": "atom-one-dark",
  "port": "3000",
  "revealOptions": {
    "transition": "fade"
  },
  "staticDir": "docs",
  "staticDirs": ["slides/images"]
}
This way, you just need to execute npx reveal-md slides.md and reveal will pick up all of your changes
Examples
In case you want to understand the power of reveal-md, take a look at this presentatio
Resources
All the code used in this blog post, can be accessed in this GitHub repo.