Batch upload videos to youtube using Youtube Uploader
Table Of Contents
Recently I had a client that asked that the documentation of the application I made for them to be on videos posted privately on YouTube.
That’s no problem…
But there is the inconvenience of having to upload videos one by one using the YouTube interface.
That’s why I recurred to the YouTube Uploader tool. To be able to script the upload of all the videos.
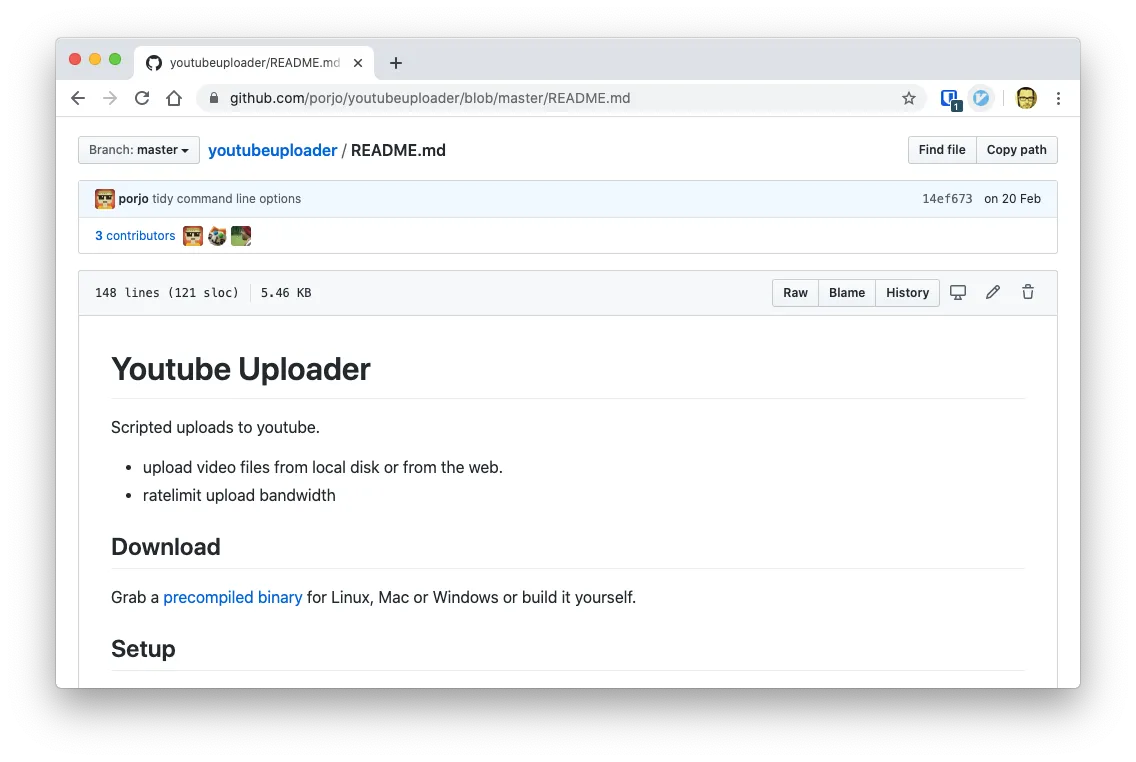
So lets see how you can grab this tool and how can you install it to upload videos to Youtube from the command line.
Installation
YouTube Uploader is written in Go. And if a tool is written in Go it’s very, very likely that the product is a binary file and that is multi platform.
This is exactly the case with YouTube Uploader. The download its just a zipped binary file. And there are multiple binary files, one for each architecture.
So the installation consist in:
- Download the correct binary from it’s GitHub Releases page.
- Place the binary somewhere where you can execute it
- There is no 3rd step.
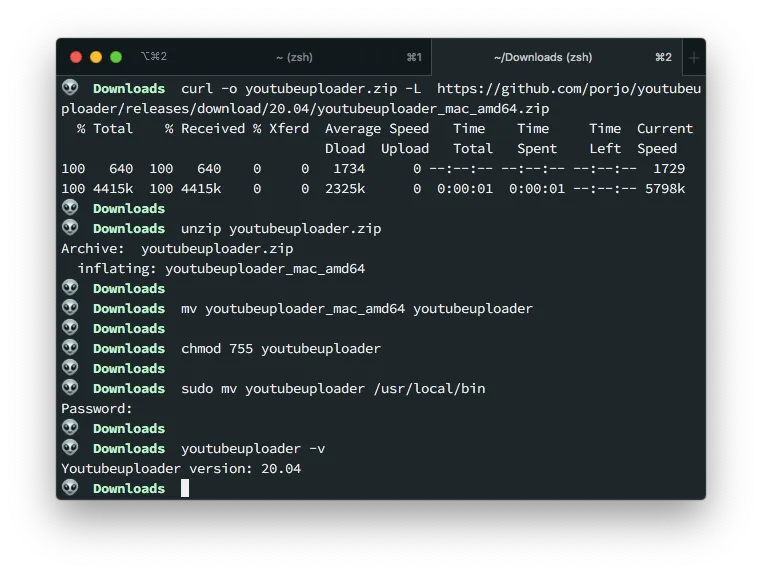
# The Mac version is suffixed by mac_amd64
curl -o youtubeuploader.zip -L  https://github.com/porjo/youtubeuploader/releases/download/20.04/youtubeuploader_mac_amd64.zip
unzip youtubeuploader.zip
mv youtubeuploader_mac_amd64 youtubeuploader
chmod 755 youtubeuploader # Make it executable
sudo mv youtubeuploader /usr/local/bin
youtubeuploader -v
Create Google’s Developers Account
Before we start to upload videos to YouTube, we need to authorize the tool using an API key. And for that you need to have an account in Google’s Developer Console.
So if you don’t have an account there yet. Go and create one… Done? good, lets move on.
Create a new Client ID and Secret for Youtube Uploader
Youtube Uploader uses OAuth to authenticate itself to Youtube. This means that you have to create a Client ID and a Secret in Google Developer Console.
So start by creating a new project for this.
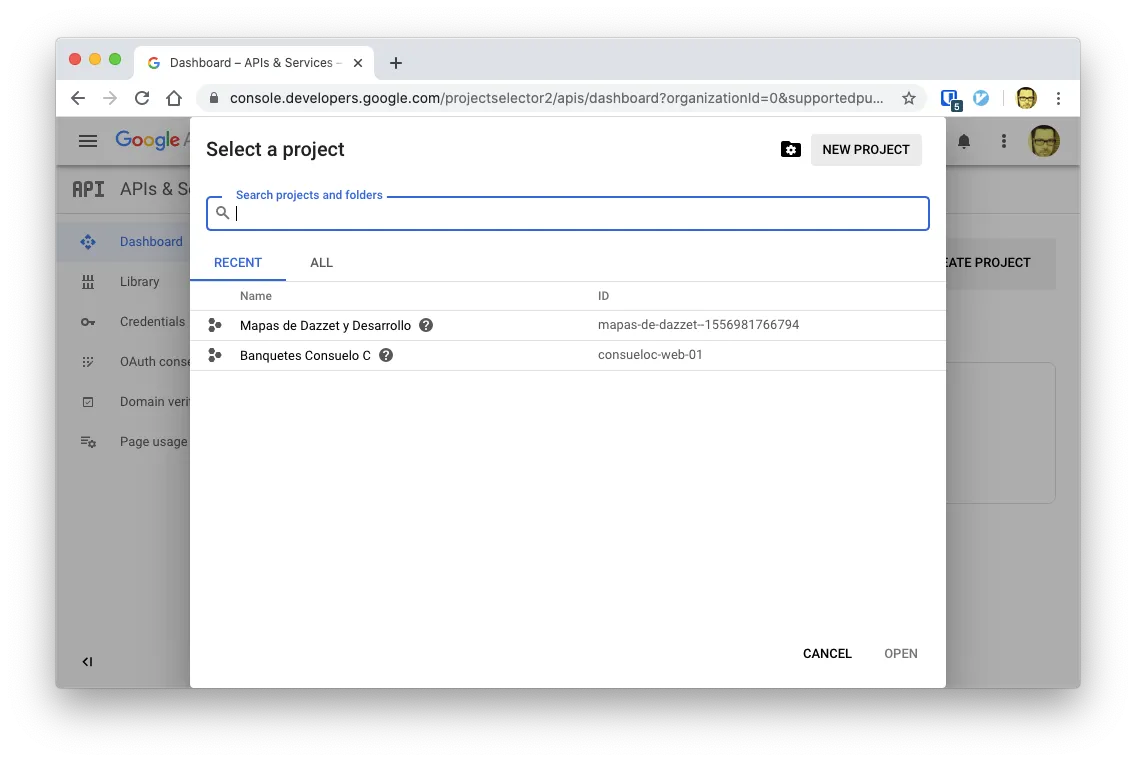
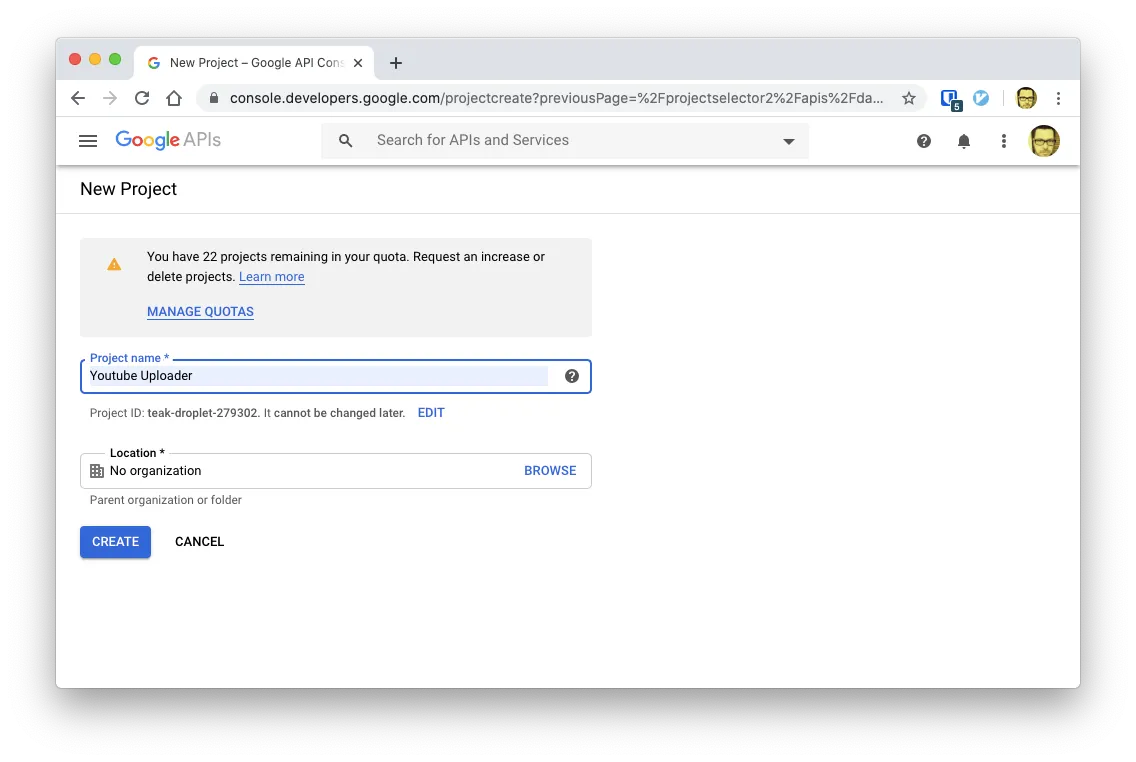
Actually, creating a project is not required, but its a good idea in case you have any security issue.
Enable the Youtube API
Now that we have a new project, head over to the API library by clicking on Library on the Left Sidebar
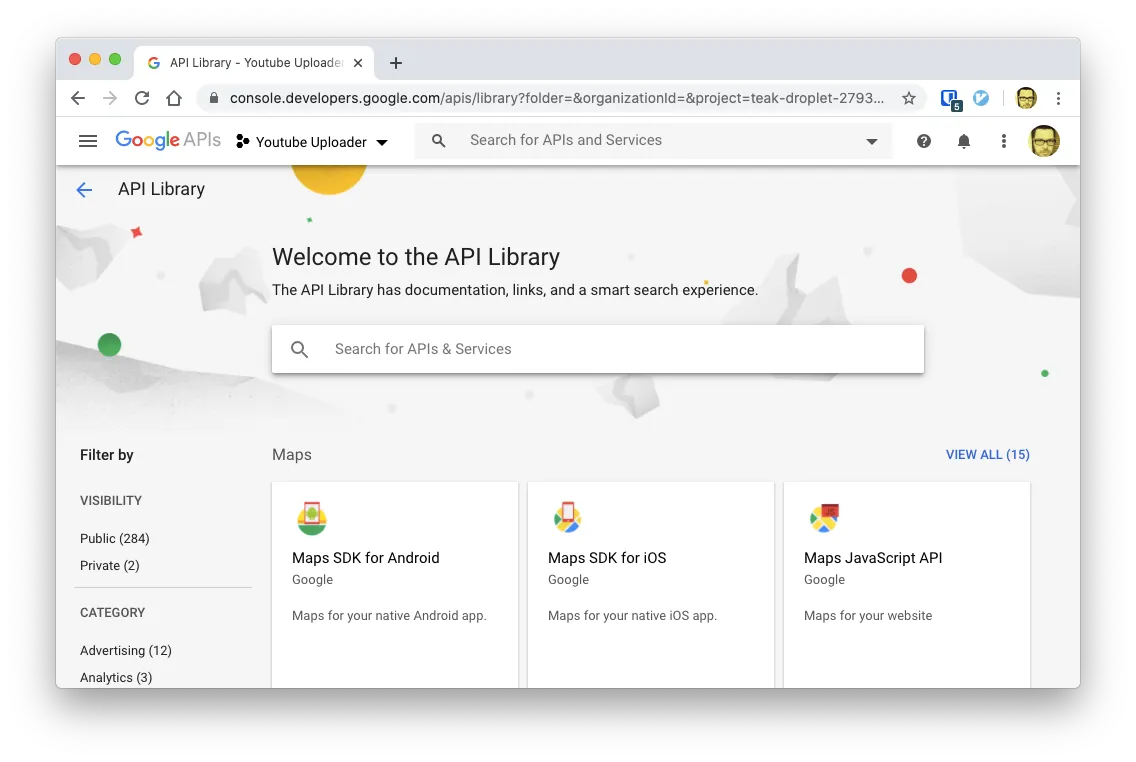
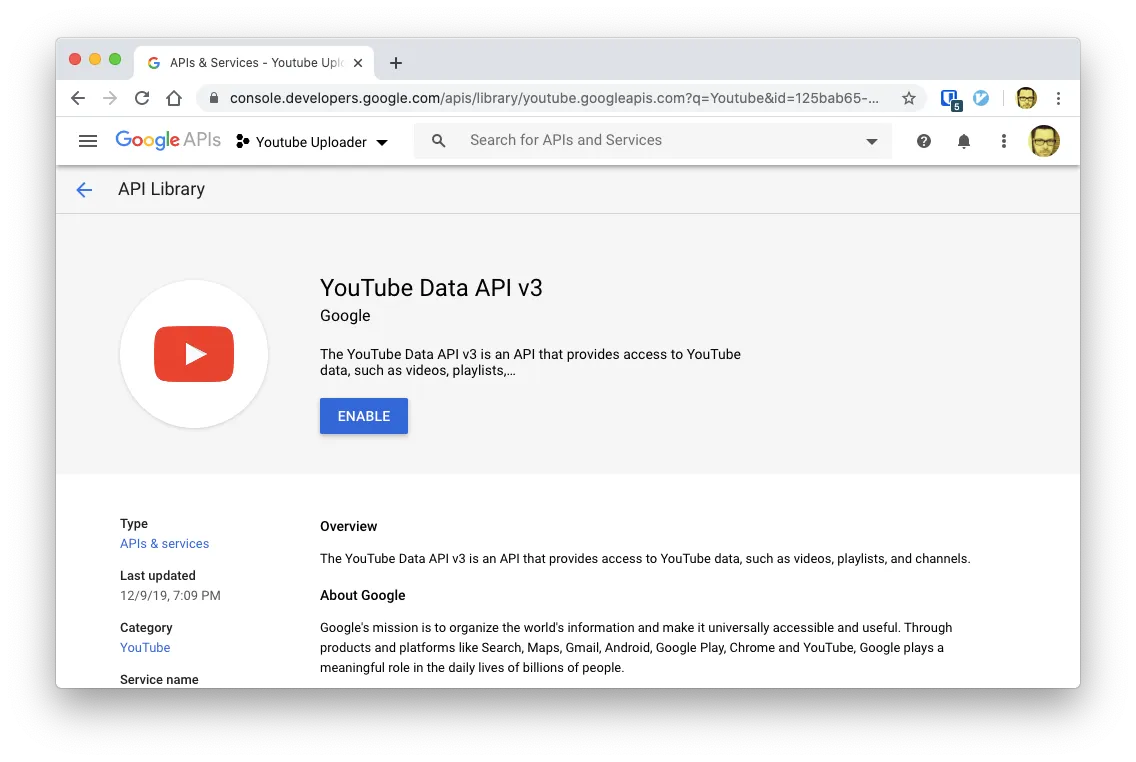
And look for YouTube Data API V3
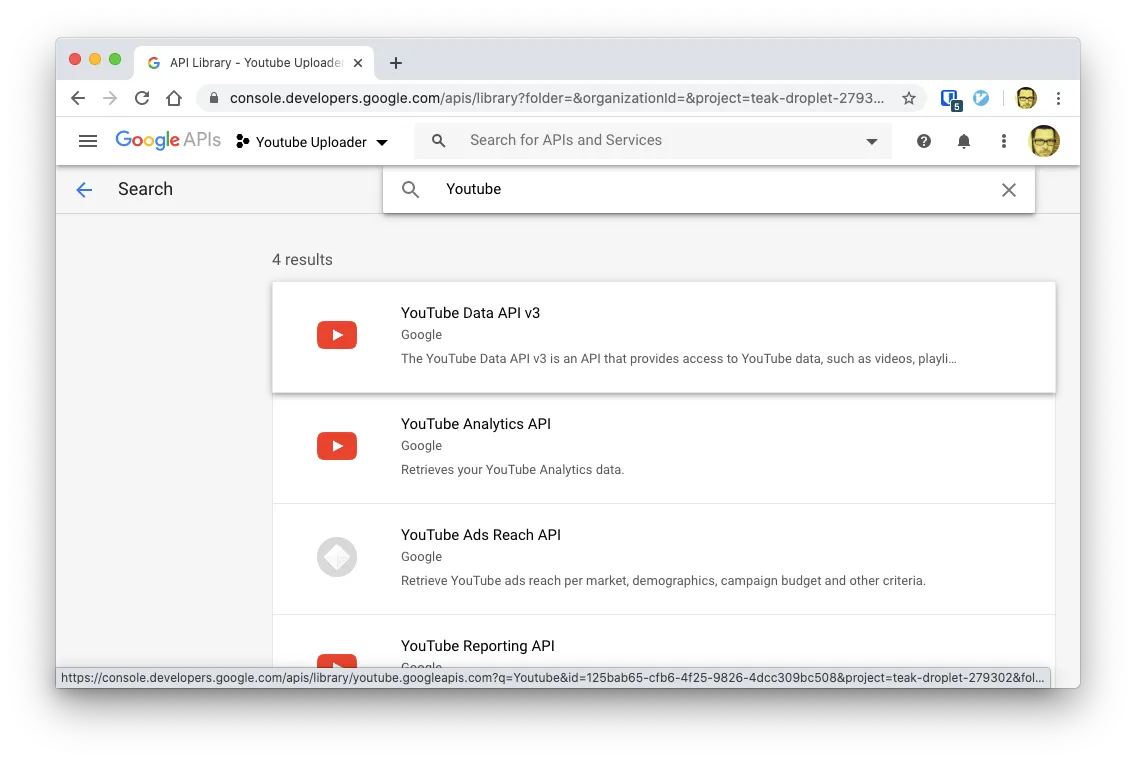
And enable it
Create OAuth credentials
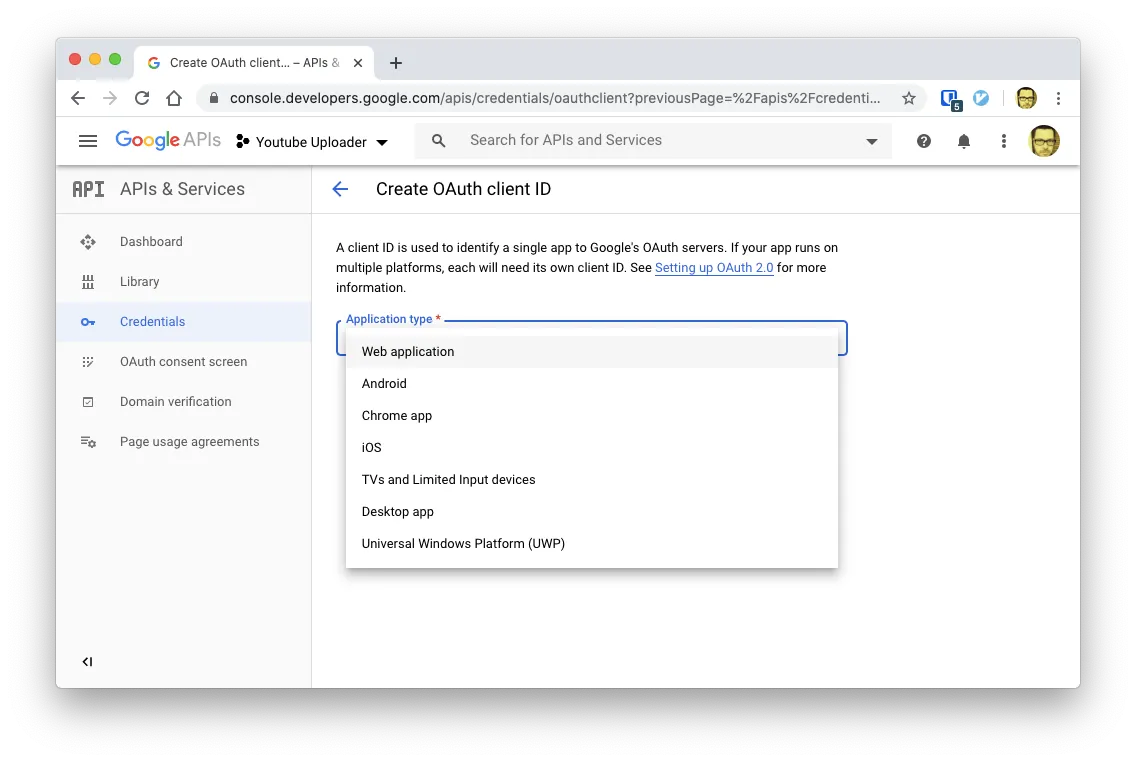
First of all, be sure that you are still on the Youtube API configuration and then select Create Credentials for a OAuth Client
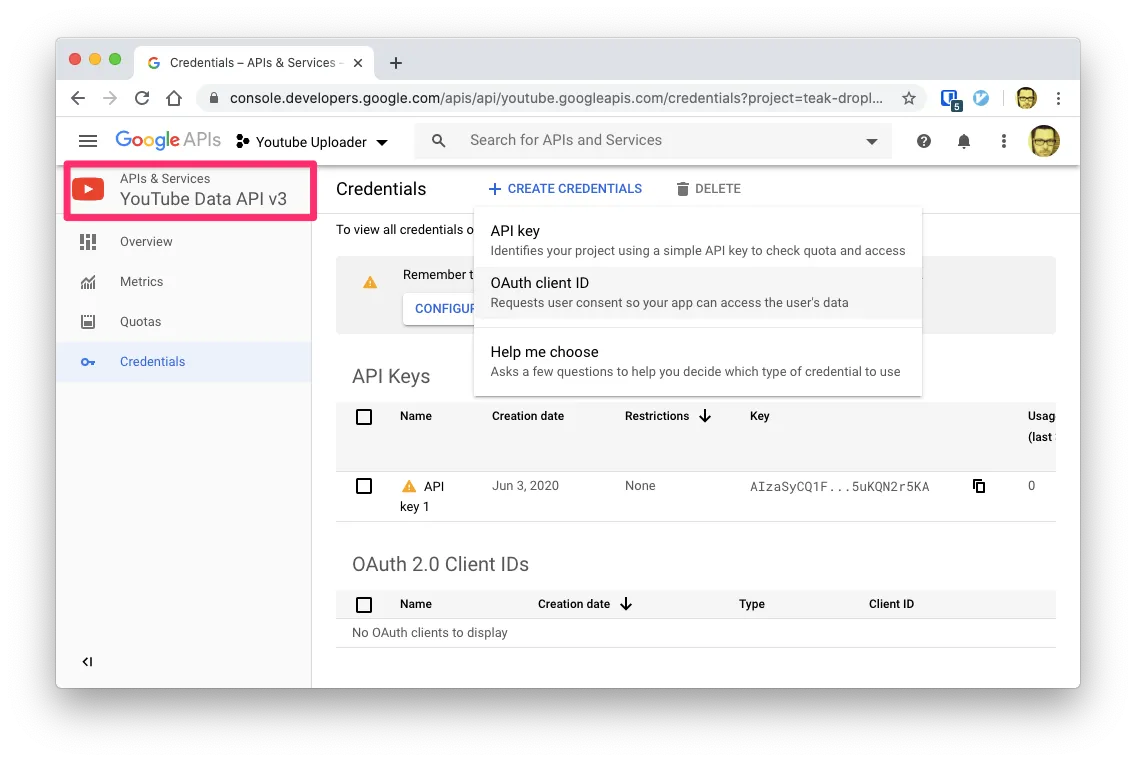
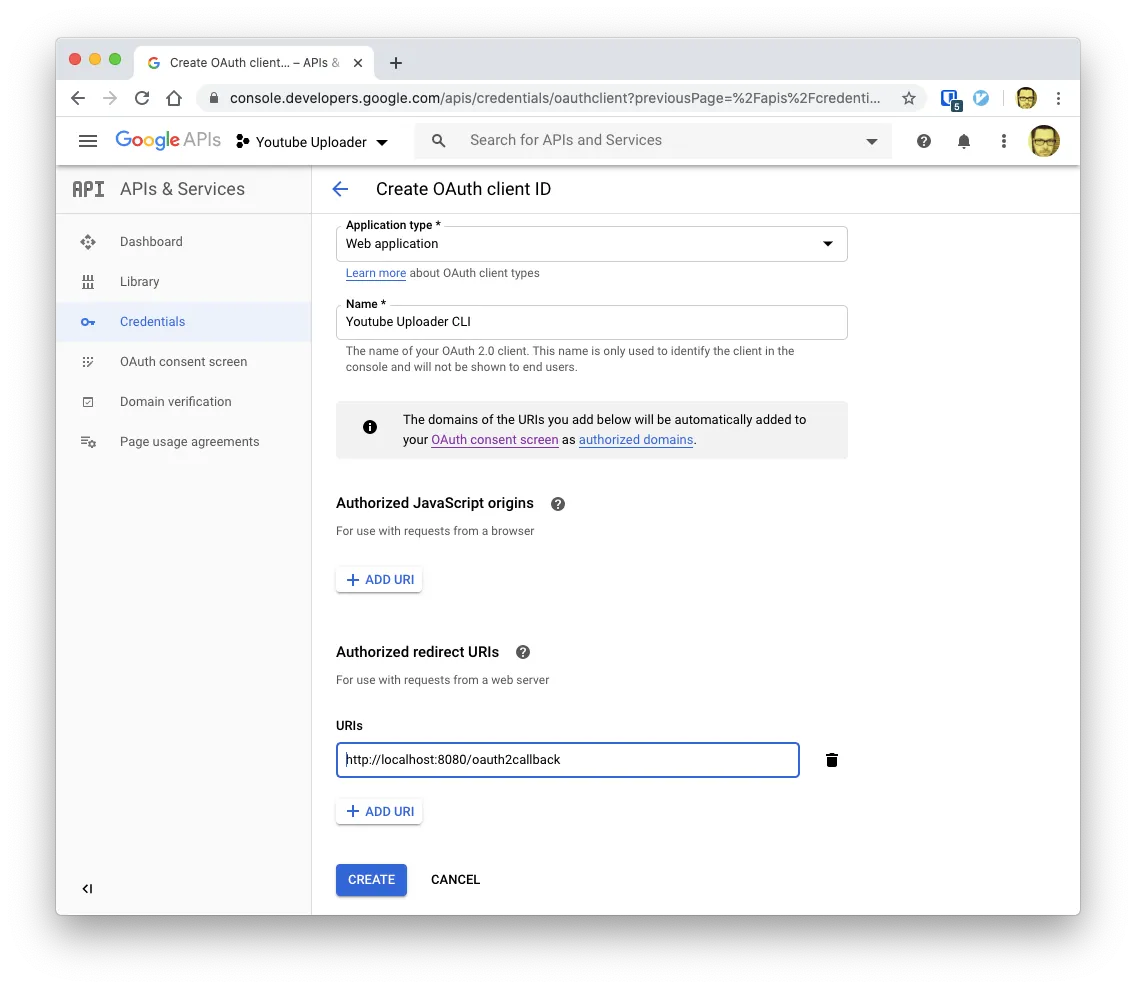
On the next screen select Web Application
Give it a name and use the callback http://localhost:8080/oauth2callback. This is very important!.
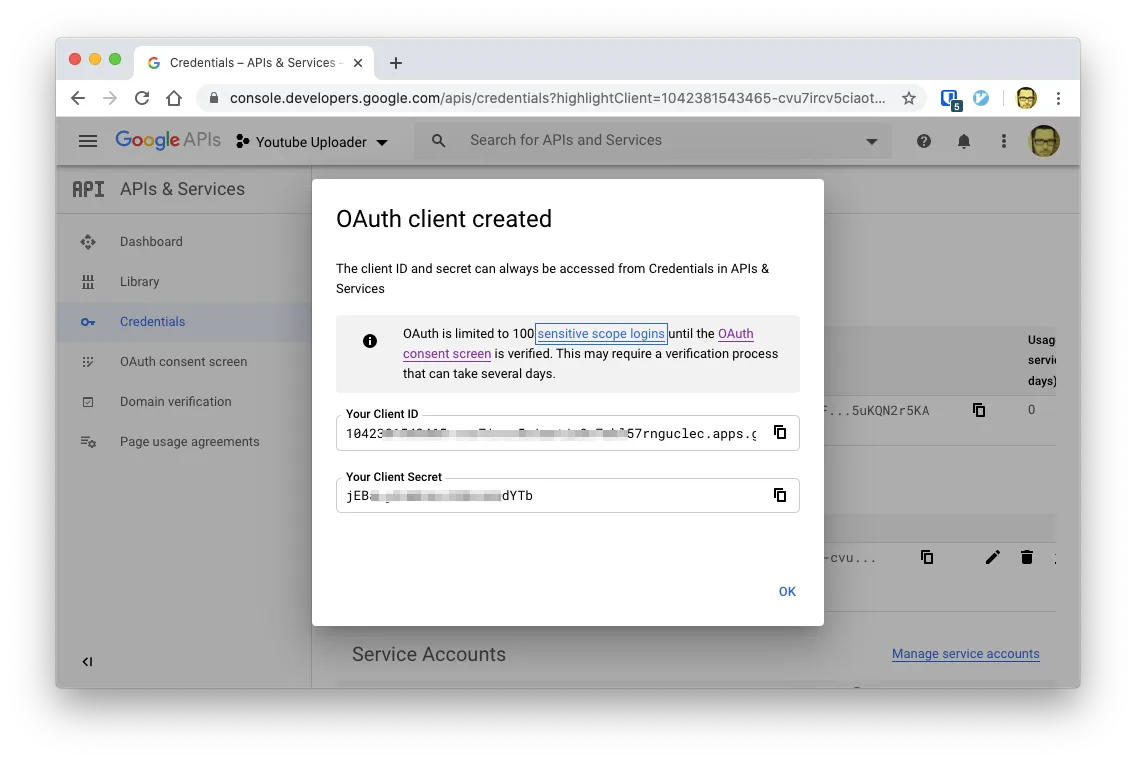
Finally take a not of the Client API ID and the Secret since we’re going to need them on the next step.
Configure your workspace
Youtube Uplaoder needs 2 files on your local file system in order to work:
- An
client_secrets.jsonfile - A
request.tokenfile
This files have to be placed in the directory where you are going to execute the command.
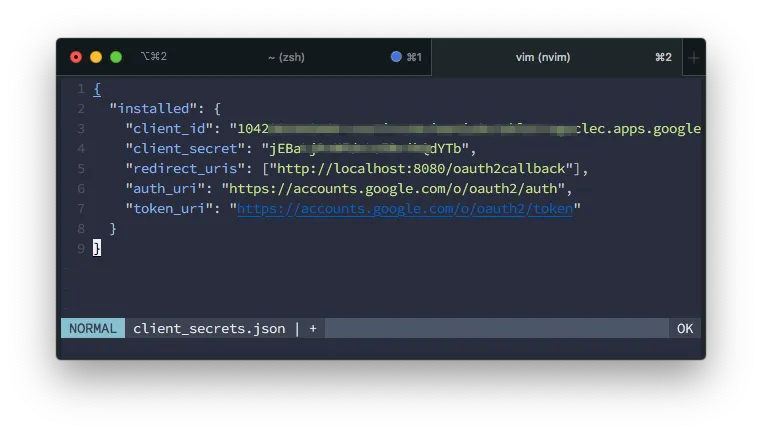
The creation of the client_secrets.json is pretty straight forward. Just use a text editor to create the file with the following structure:
{
  "installed": {
    "client_id": "YOUR_CLIENT_ID",
    "client_secret": "YOUR_CLIENT_SECRET",
    "redirect_uris": ["http://localhost:8080/oauth2callback"],
    "auth_uri": "https://accounts.google.com/o/oauth2/auth",
    "token_uri": "https://accounts.google.com/o/oauth2/token"
  }
}
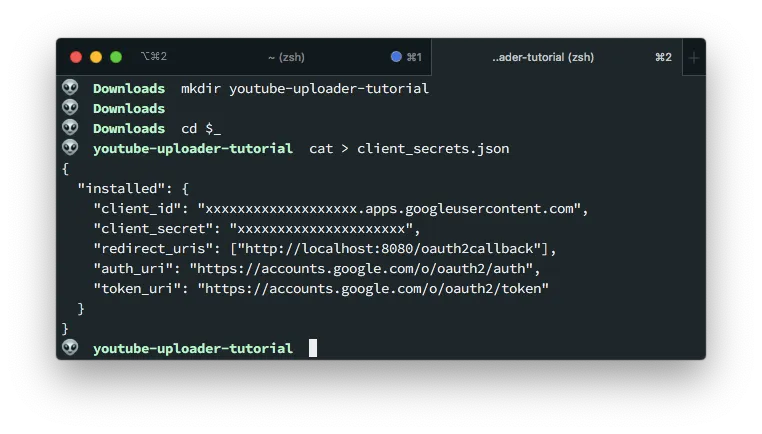
Remember to change YOUR_CLIENT_ID and YOUR_CLIENT_SECRET for your actual data:
The request.token file will be created for us in the first upload. Meaning, the next step.
Uploading your first file
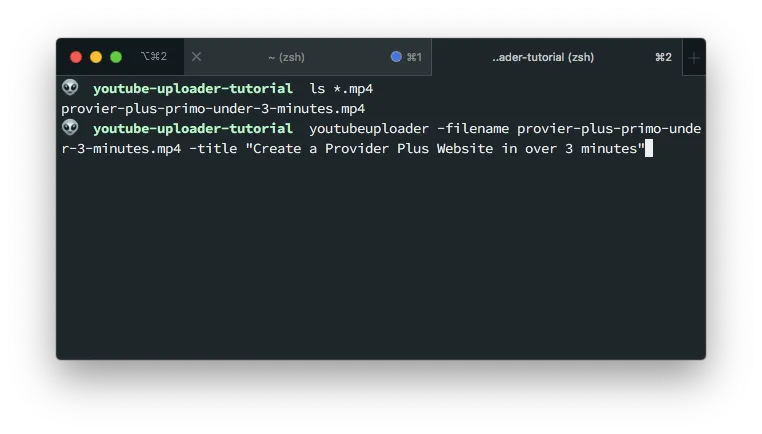
As I said before, when you upload your first file, the request.token will get created. That’s why the first upload is so important.
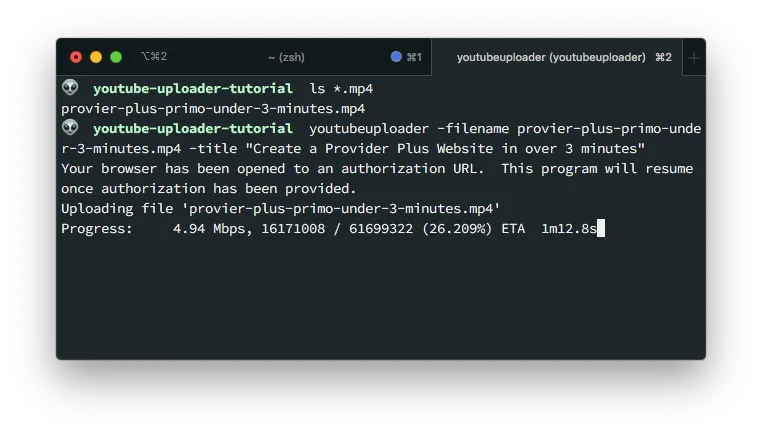
So have a .mp4 file at hand and execute the following upload command:
youtubeuploader -filename "my-local-file.mp4" -title "This is my first vide"
Obviously, change the name of the file and the title accordingly
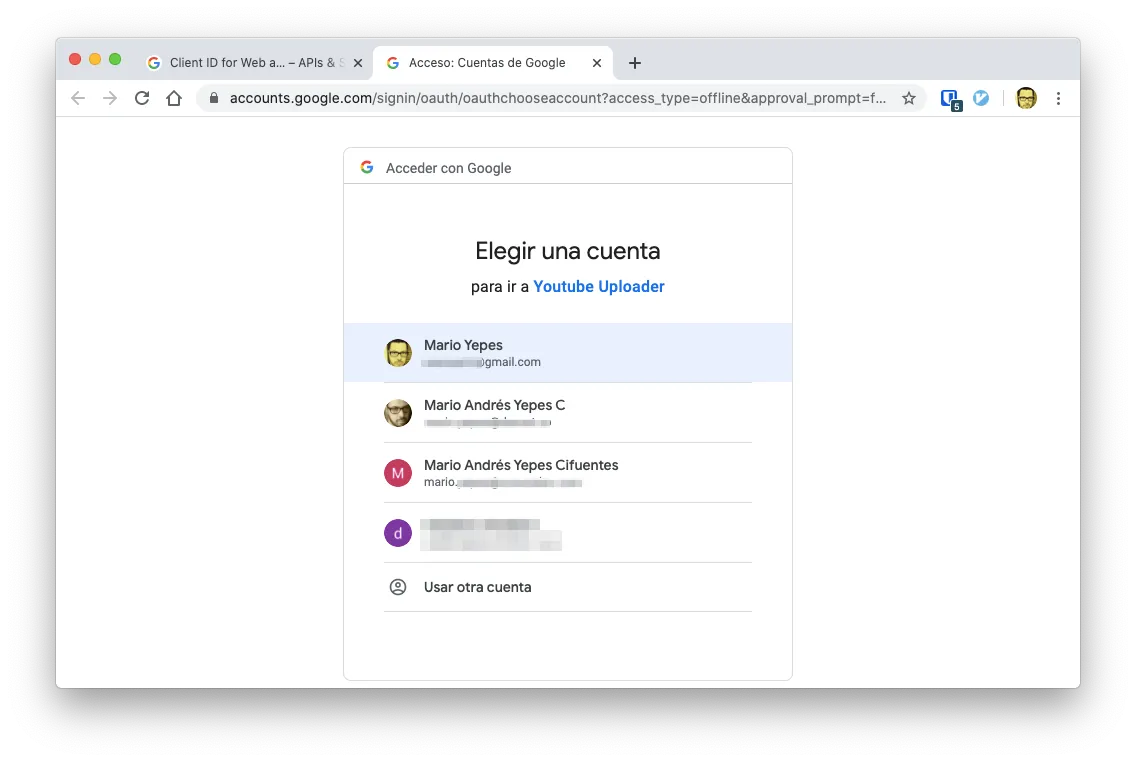
Youtube Uploader will open a new browser window asking to select an account to use for the uploading:
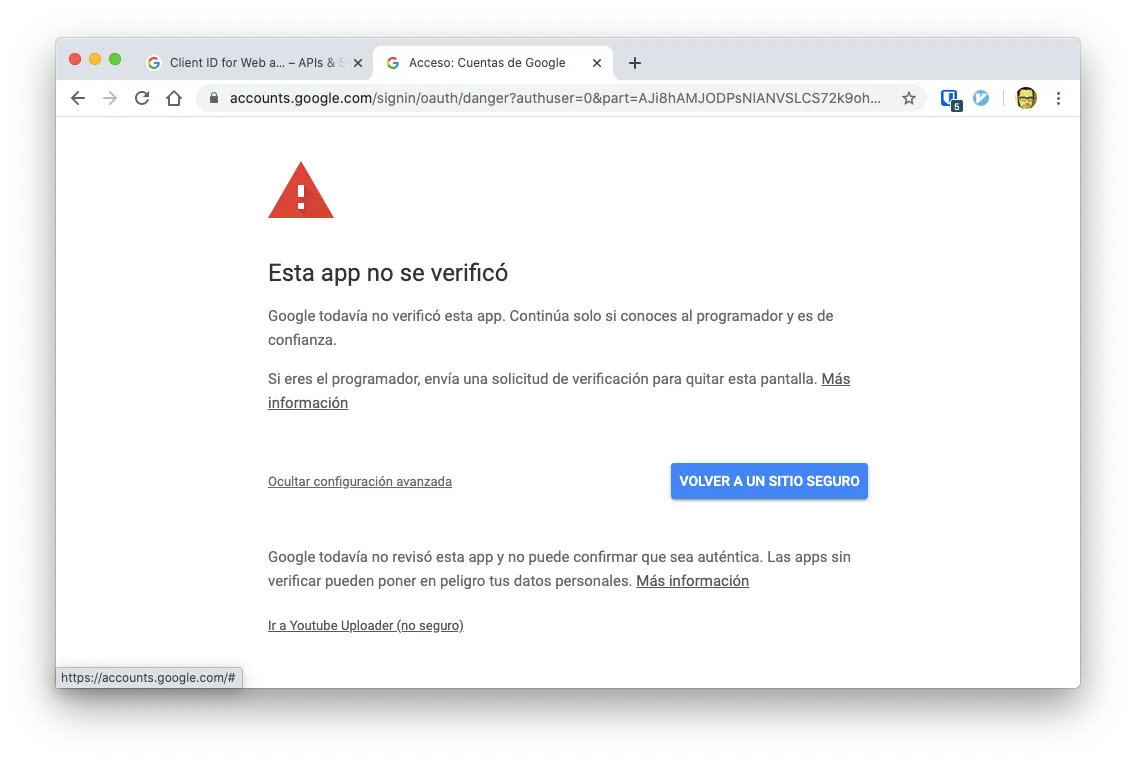
You’ll get a certificate error which is pretty normal in our case
And then you’ll get asked if you want to grant upload permissions to Youtube Uploader
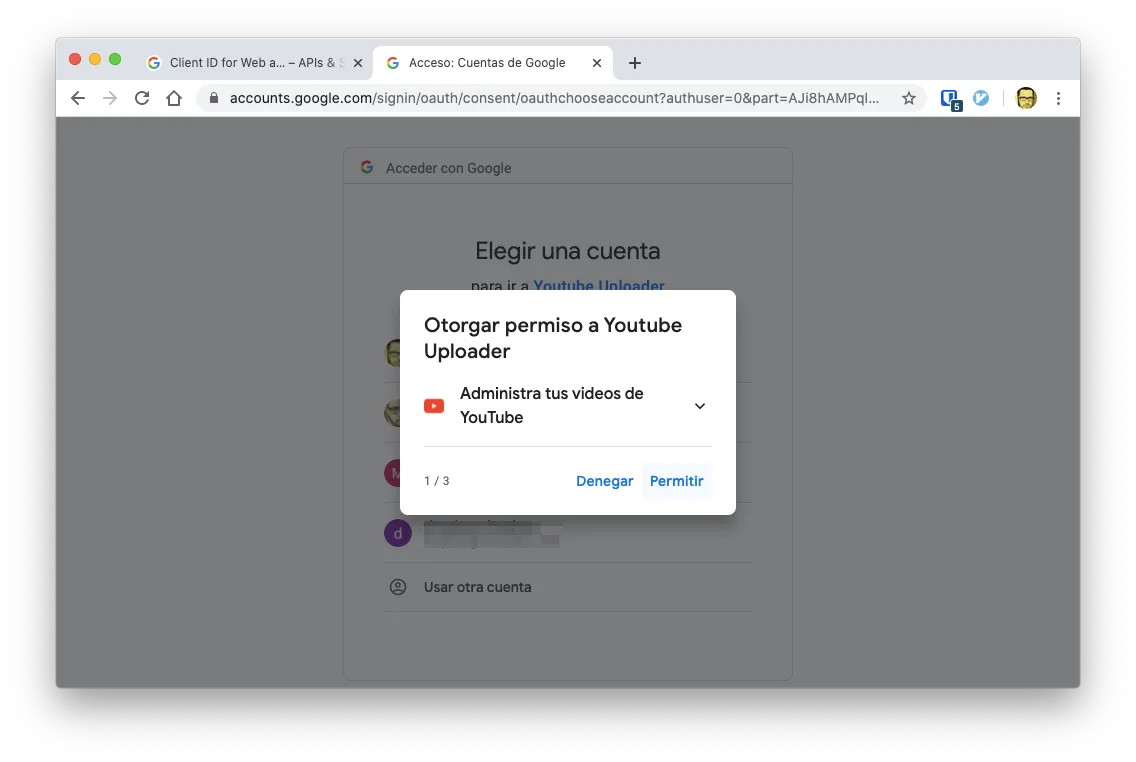
And then a success message of permissions granted:
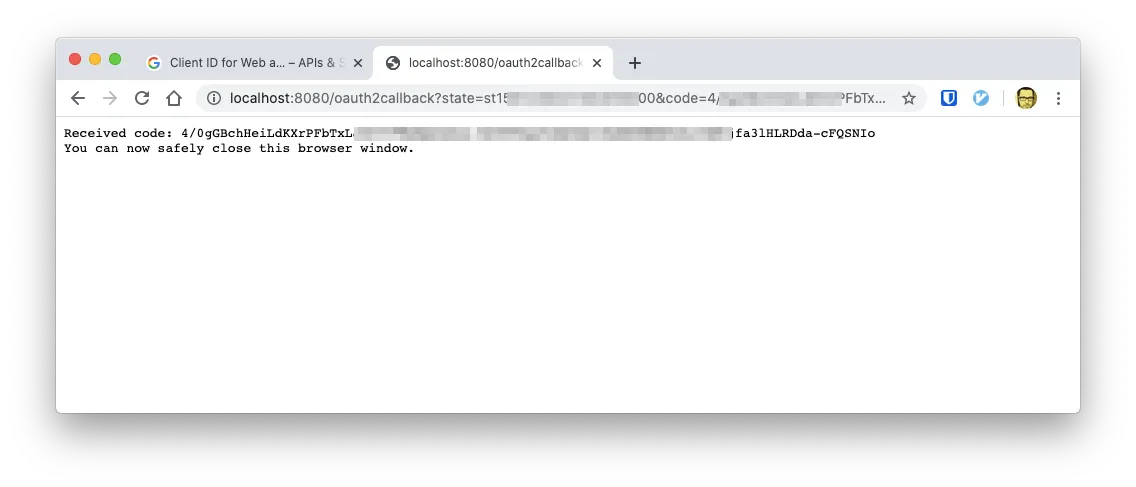
In that moment. The request.token will get created, and your file will start uploading.
You can check that the request.token got created

Next Uploads
Fortunately the Auth section for Youtube Uploader only has to be executed once. But you have to remember to keep the client_secrets.json and your request.token around!
Otherwise you have to go trough the authorization part again.
Summary
So to use Youtube Uploader you just have to:
- Create a Google Developer Account
- Enable the YouTube API library
- Create an OAuth Client ID and Secret for Youtube
- Create a
client_secrets.jsonfile with the Client ID and Secret - Execute the upload command to create the
request.token - Save those 2 files for future uploads
- Unless specified, the uploaded videos are private
Interesting Parammeters
You can get a complete list of the supported parammeters by executing
youtubeuploader -h
But here is a list of the most useful ones:
-description "The description"If none specified the description will be Uploaded by Youtubeuploader-filename /path/to/video/file.mp4The local file to upload-privacy <private|public|unlisted>One ofprivate,public,unlisted-secrets /path/to/client_secrets.jsonWhen you have the.jsonfile on another directory-title "The video title"-thumbnail /path/or/url/to/thumbnail.pngYou can upload the thumbnail too