Deploy your first AWS Lambda function using the Serverless Framework
Table Of Contents
Serverles is taking the world. And we don’t even know what serverless is!!!
Well, Serverles is a development “philosophy” where you don’t need to worry about setting up servers or services nor databases or queues for that matter. You just develop an application an publish it in the cloud.
…That’s sounds a little vague. Could you explain.
Sure…
Normally, when you are developing a, lets say web api with node, you have to create a Virtual Machine with a service like a Digital Ocean Droplets or an AWS EC2 Instance. Then, in that virtual machine, you have to install a complete Linux OS. And then install required services for your app like NodeJS, MongoDB, Redis, Nginx, etc. Then you have to configure those services with so they can work together. And finally you have to publish your application in that virtual machine.
On top of it all you might need to do that process more than once if your application start to require addicional resources like more memory or more space on disk.
Enter Serverless…
The basic idea behind the Serverless Architecture is that your provider (Amazon AWS, Google Firebase, Azure, etc) has already taken care of installing and configuring all the services that you need. Services like Web Servers, NodeJS, Queues, SMTP Emailing, SMS messages platforms, etc. Are already installed, configured and deployed. So you only have to publish your app into the cloud and configure which services you are going to need and how to connect to them.
Not only that… The provider will charge you only by the times your app get called and the amount of computing resources it uses. So if your app its idle and you are not storing any data you wont get charged at all.
… And if your application starts to demand additional resources, you provider will scale them to accommodate automatically.
Caveats of Serverless
So what’s the catch? Why do I need to write this article?
Well, while Serverless makes your life easier at execution time… It takes a good amount of configuration since have to ask your provider for resources like which database are you going to use, which language environment your app will require, when does your application needs to be executing (always on, only once every 3 hours, ever time a user hits another service, etc), where the logs are going to live, etc.
Also, this configuration can change from provider to provider since names are different, how to connect to them is different, the console (or web console) you use to make the configuration changes and even some services do not exist on some providers.
The Serverless Framework
The idea behind the Serverless Framework is to enable you to configure your providers services locally, using .yml files, and to be able push that configuration to your provider.
Configuring your provider services using the Serverles Framework has several advantages over using your provider propietary tools:
- You can switch bettwen providers fairly esaly
- It takes care of the naming convensions (the same service changes names from provider to provider)
- You don’t have to worry if you require a new service, if your app requries it, the Serverless Framework will take care of creating the required resources
- You can use different languages in the same project
So you can build an application on Node, Python, Go, C#, etc. And have the Serverles Framework configure and publish the required services in AWS, Firebase, Azure, etc.
Take into account that Serverless Framework is a product. While Serverles is a development style or philosophy.
Serverless Framework installation
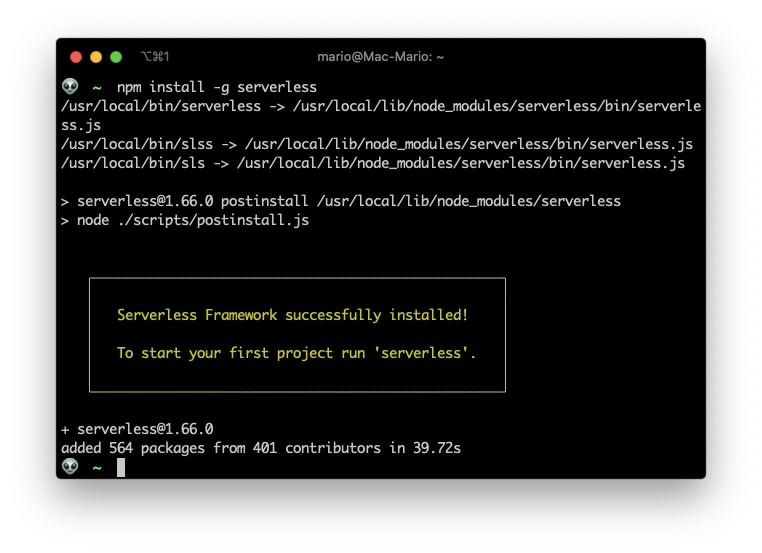
The serverless framework is a Node’s npm package so you need to have NodeJS already installed.
being an npm package installing it is just a matter installing it globally.
npm install -g serverless
Create and download credentials from AWS
This part depends on the Cloud provider that you use and it has to be done before executing the Serverless Framework.
As the title of the article says it, we’re going follow the AWS Serverless Configuration. So we need to provide a couple of credentials so the Serverless Framework can publish our code and configure the services we’re going to use.
First go to the AWS IAM Console and go into Users:
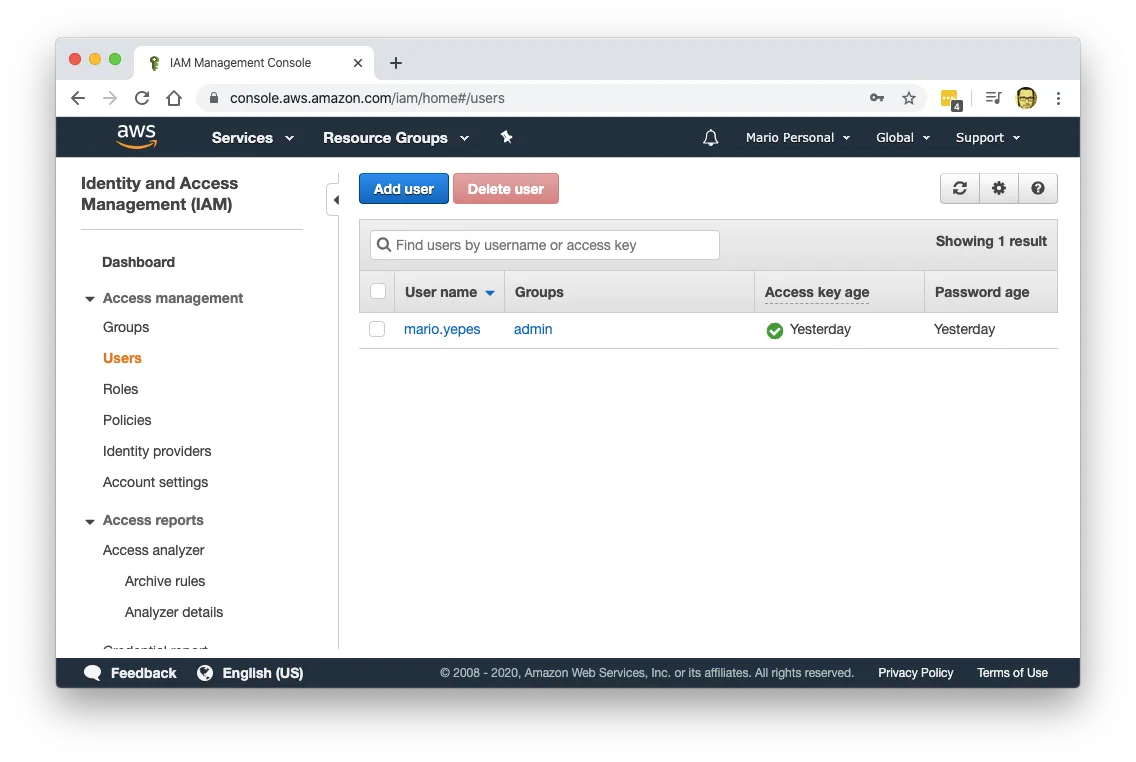
Then got to the user you are going to use to publish data (in my case mario.yepes) and select the Security Credentials tab.

… And click on the Create access key button.

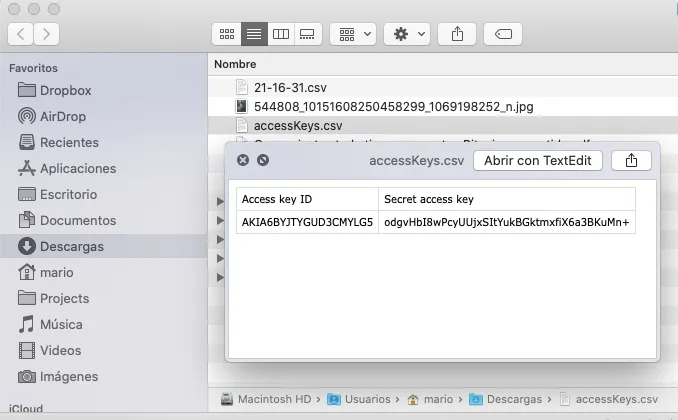
You’ll get prompted with a dialog where you can view and download the credentials
On the downloaded .csv file you can view your credentials:
Configure AWS credentials on your development machine
Now that you have your credentials, you can configure them in your machine so you can use them to deploy your code to the AWS cloud.
The following serverles command has to be executed only once by provider/user. And will take care of configure it:
serverless config credentials --provider aws --key AKIA6BYJTYGUD3CMYLG5 --secret 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 --profile testAccount
Let’s break down that command:
--providertellsserverleswhere and how to store this credentials since each provider saves data in different parts of you machines (AWS stores it in~/.aws/credentials)--profileallows you to configure credentials for several accounts for the same service. Here I’m using the profiletestAccountto use the AWS environment I created just for testing
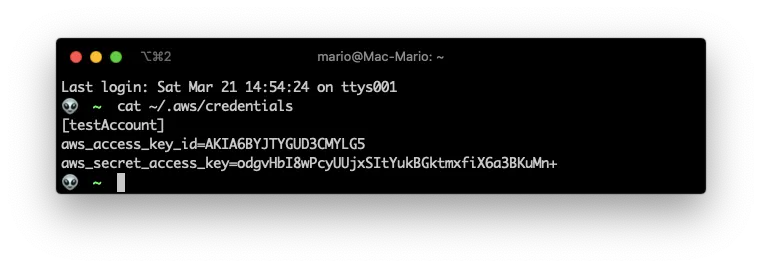
To take a look at what serverless did, you can view the contents of the file ~/.aws/credentials
cat ./.aws/credetials
Creating a Serverless Framework Project
Now, lets create a simple “Hello World” project just to verify that all works, and that we can publish information to AWS.
The following command will create a new directory for our project, and create start files in there:
serverless create --template aws-nodejs --path serverless-aws-1 --name serverless-aws-1
cd serverless-aws-1
Is important to note that the template we used is aws-nodejs. Which is the Servelress Framework template we have to use when we want to create a Lambda function that has to be executed by their NodeJS environment.
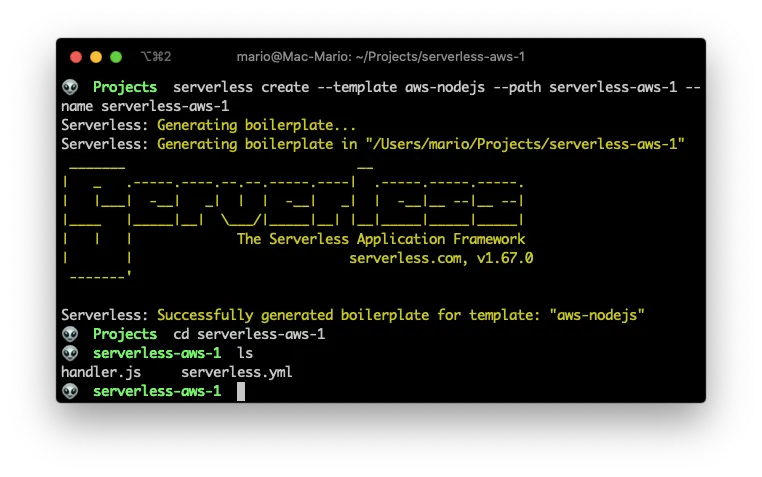
As you can see the serverless command create the project dir and 2 new files:
handler.jswhere our application code shold goserverles.ymlwhere we configure the services, resources and paths we’re going to use.
So you might have guessed by now, that we’re going to spend a lot of time with serverless.yml at first.
Configuring your provider with Serverless
In the serverless.yml file we can add all the configuration we want to be applied to the AWS. Configuration like:
- Create services with Dinamo DB, Lamda, EC2, S3, etc
- Specify the user profile to use
- Add roles an policies
… And most of all, we can specify which file and which function we want to publish to AWS Lambda!. Since AWS Lambda is the preferred way to create a serverless function with AWS.
After all the comments are removed, the serverless.yml file looks like this:
# serverless.yml
service: serverless-aws-1
provider:
  name: aws
  runtime: nodejs12.x
  profile: testAccount
functions:
  hello:
    handler: handler.hello
As you can see, there is no reference to AWS Lambda, CloudFront, S3, CloudWatch, etc. Serverless will take care of creating the resources we need when it sees it fit.
The line profile: testAccount was added in this example since that’s the user I want to use to create elements in AWS.
Creating a Serverless Function in AWS
We instructed Serverless to create a new NodeJS project to publish in AWS. Serverless will translate this to Create a new AWS Lambda function to be executed with the NodeJS engine.
The place to create this function is by default in the handler.js file with the function name hello.
This is instructed in the serverless.yml file on the line that says handler: handler.hello.
Now, lets change the content of handler.js to something simple to test:
// handler.js
"use strict"

module.exports.hello = async event => {
  console.log("Hola Mundo!", event)
}
After that we need to issue the deploy command to publish our function.
serverless deploy
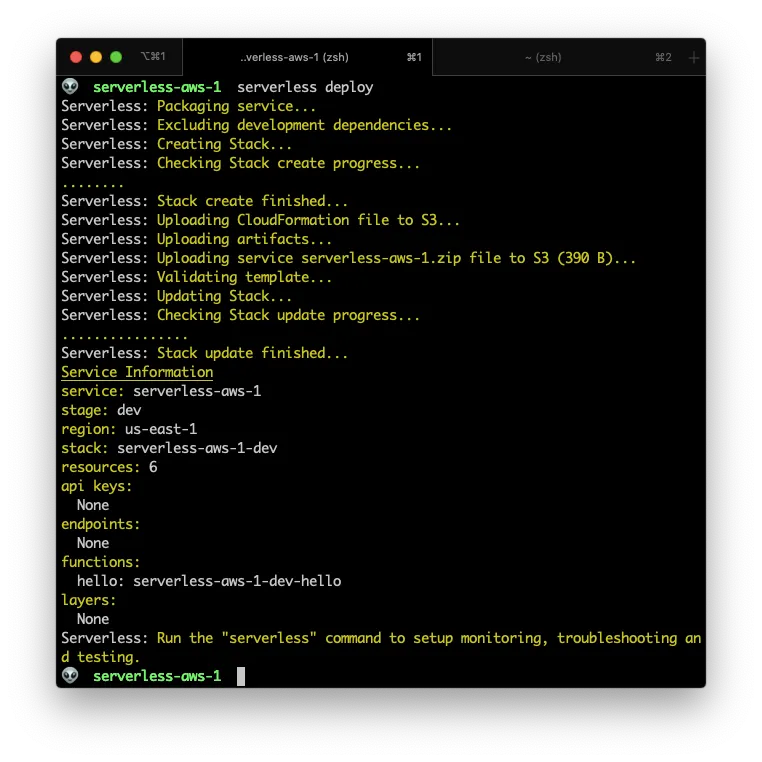
This will
- Create a new CloudFormation template
- Upload our code to S3
- Create a new Lamda function from the S3 files
AWS Results
After deploying your serverless function, you can review you changes using the AWS Console.
The ClouFormation Template
This is the CloudFormation template that Serverless creates
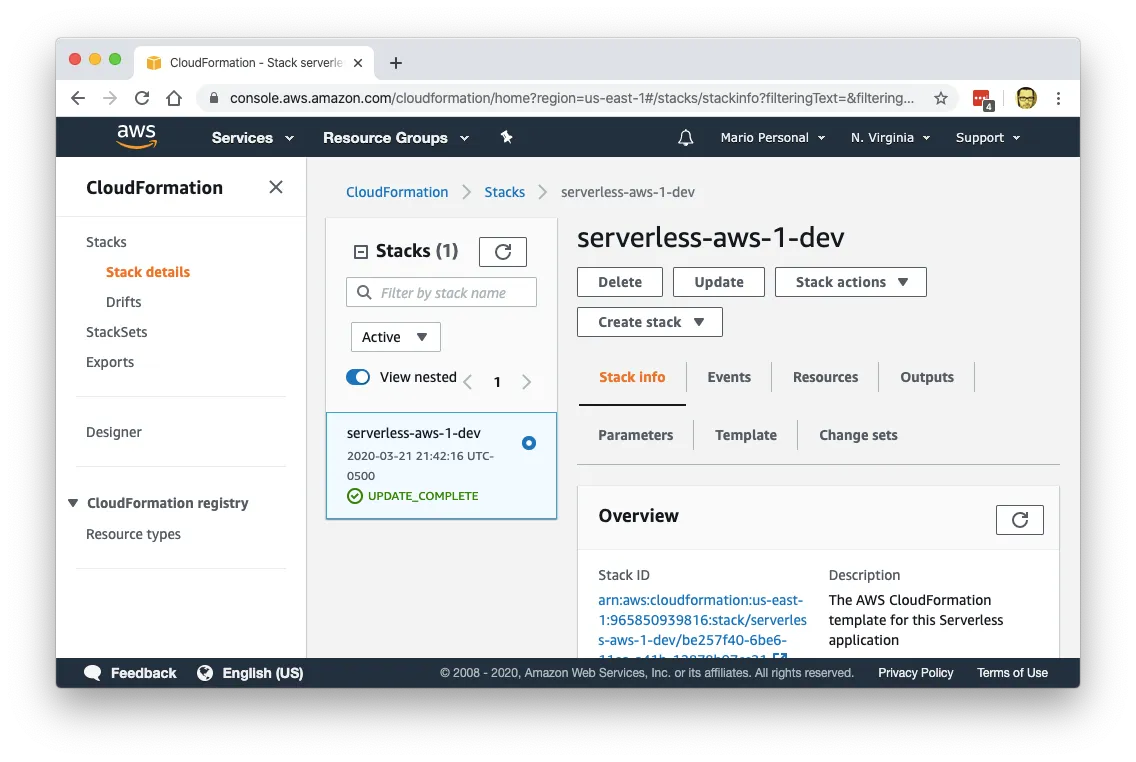
As you can see it has the same name plus -dev at the end. This means that we can create different statges (dev, prod, preprod, etc)
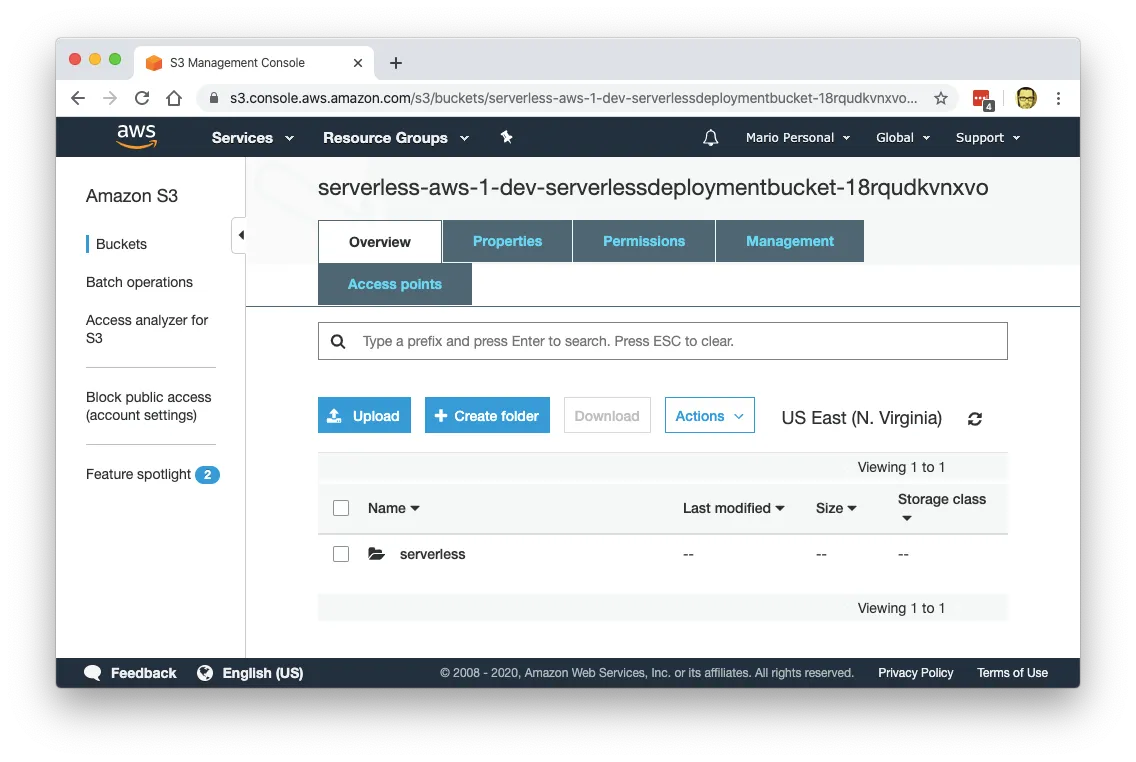
S3 Bucket
By Default Serverles creates a new bucket for this project with a very long name (serverless-aws-1-dev-serverlessdeploymentbucket-18rqudkvnxvo).
This bucket is for uploading our lambda function before deploying.
There are ways to specify an existing bucket so no new bucket get created.
Lambda Function
This is actually what we where looking for. The creation and deployment of a lambda function.

As you can see, the content of the function is exactly the same as we have on our local code.
Testing our Lambda function
Even though the Serverless Framework has testing facilities, the fastest way to test a Lambda function, is to use the testing option inside the Actions > Test sub menu.
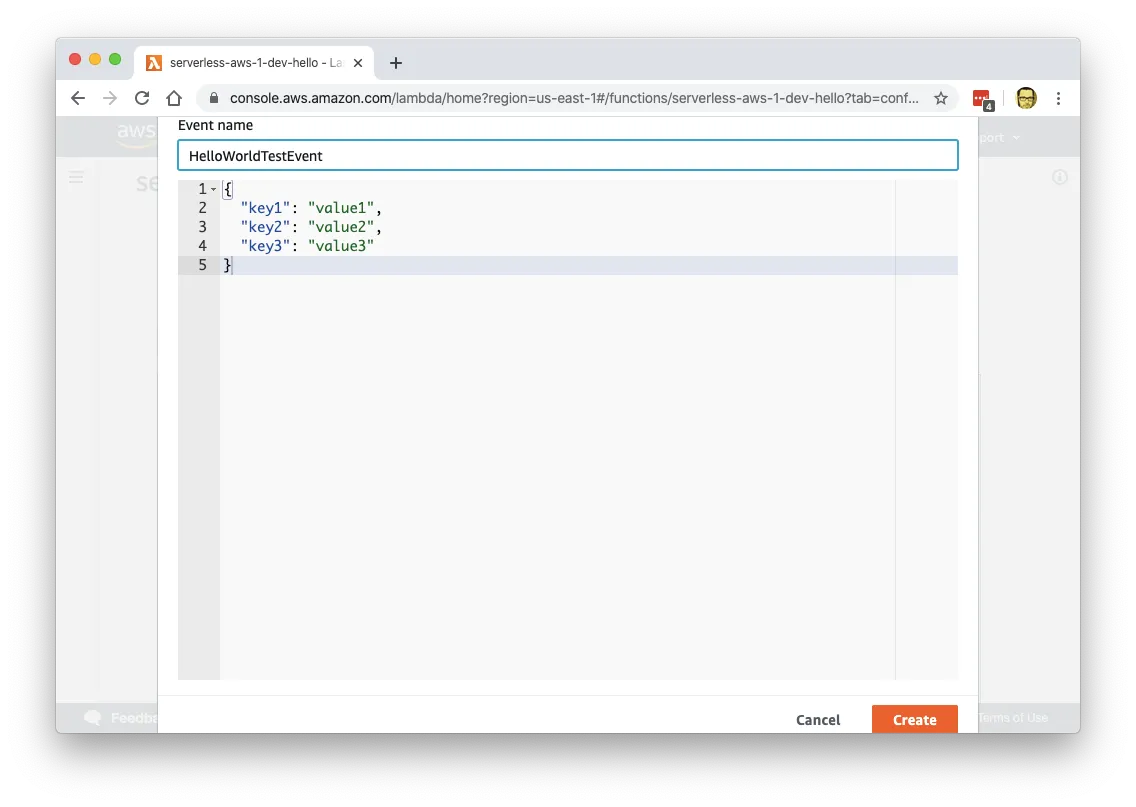
After you select that option, you’ll get prompted with type of test and some content for the test.
For our example Selected
Hello Worldtest- Kept the default values for the event.
- Change the name of the test to
HelloWorldTestEvent
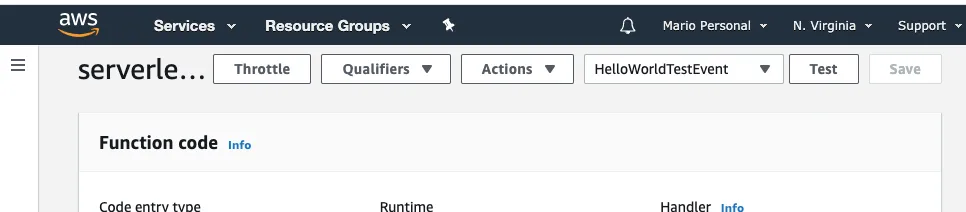
After you create the test, you can execute it by clicking on the Test button at the top of the function
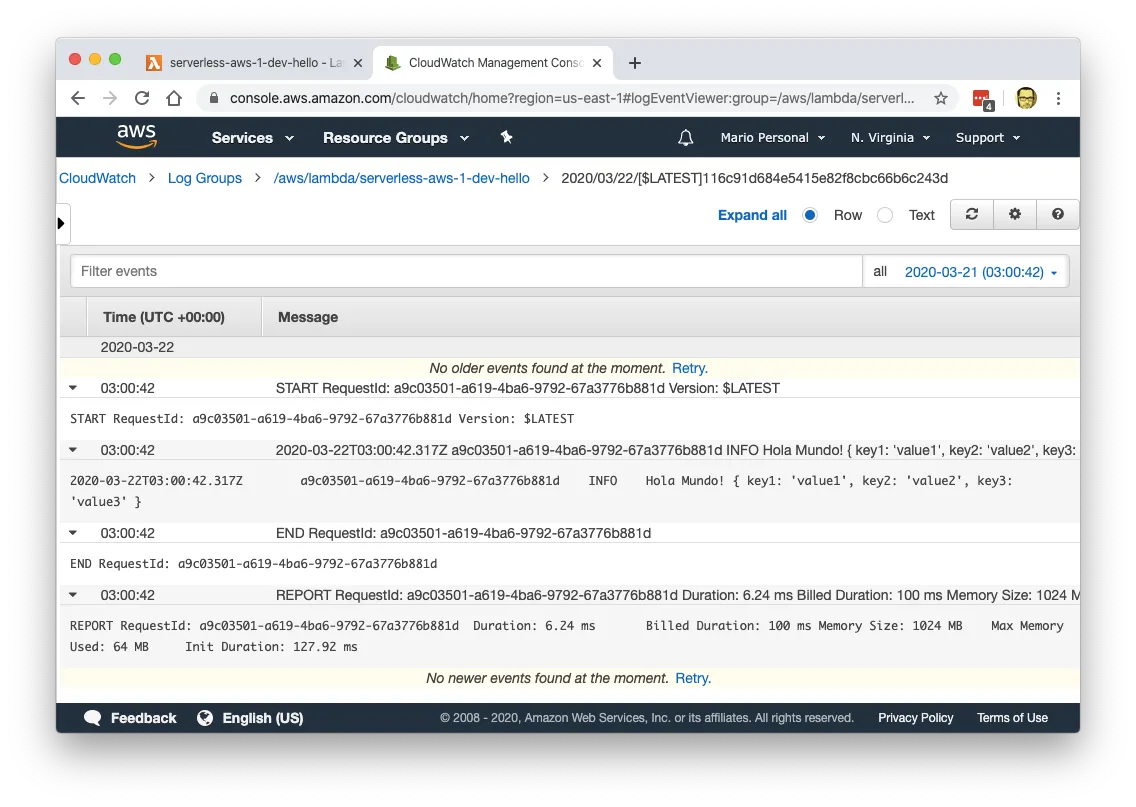
Review logs
For lambda functions created with Node, you can send information to the logs by using the console.log(), console.error() and console.warn() functions.
From our previous test configuration, we can see that the Hola Mundo text with the event info is sent to CloudWatch
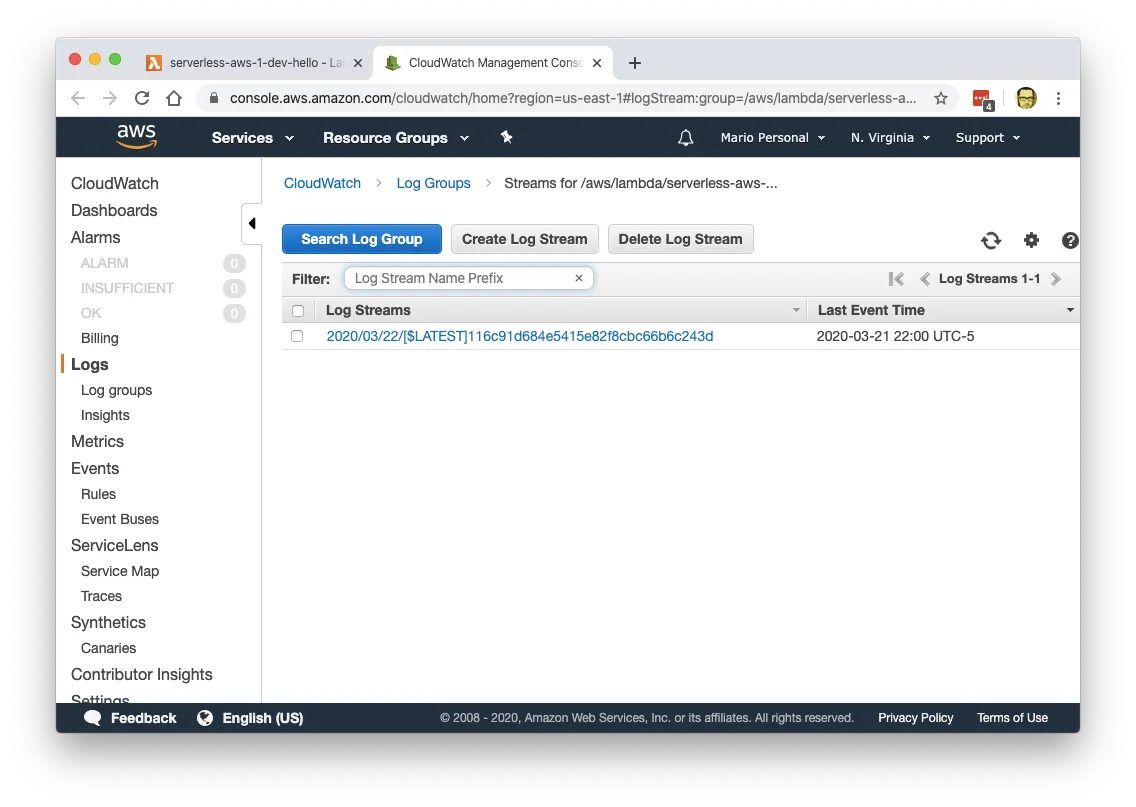
And in the content we can see that there is a Hola Mundo! text, acompanied with the variables we sent